What’s an inexpensive alternative to craft sand?
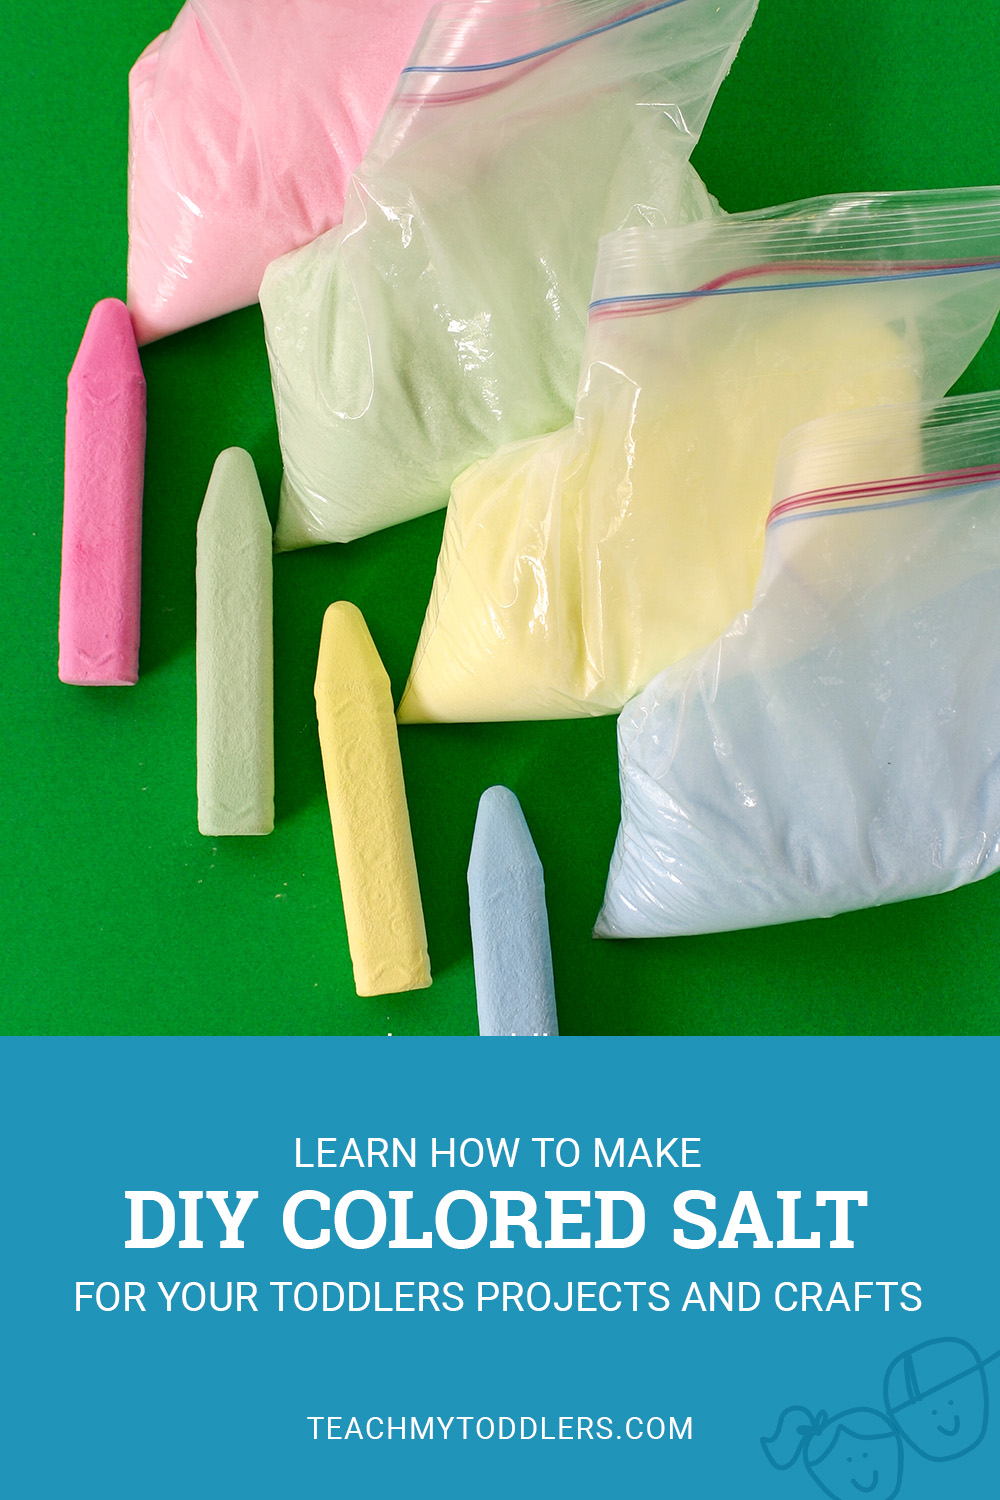
Craft sand is a beautiful sensory material that always gets my toddler’s creative juices flowing, but you might not want to spend the money on it. Luckily, there is a super inexpensive alternative and that is what this post is about. Colored Salt! What’s cheaper than salt? You can buy 3 containers of salt for around $1.50 and you can find chalk for around $1. So for about $2.50, you can make your own colored salt that works great as a substitute for craft sand.
Support Teach My Toddlers by using the affiliate links in our articles to shop. We receive a small commission (at no extra cost to you) so we can continue to create helpful free content. Thank you, we appreciate it!
What you Need
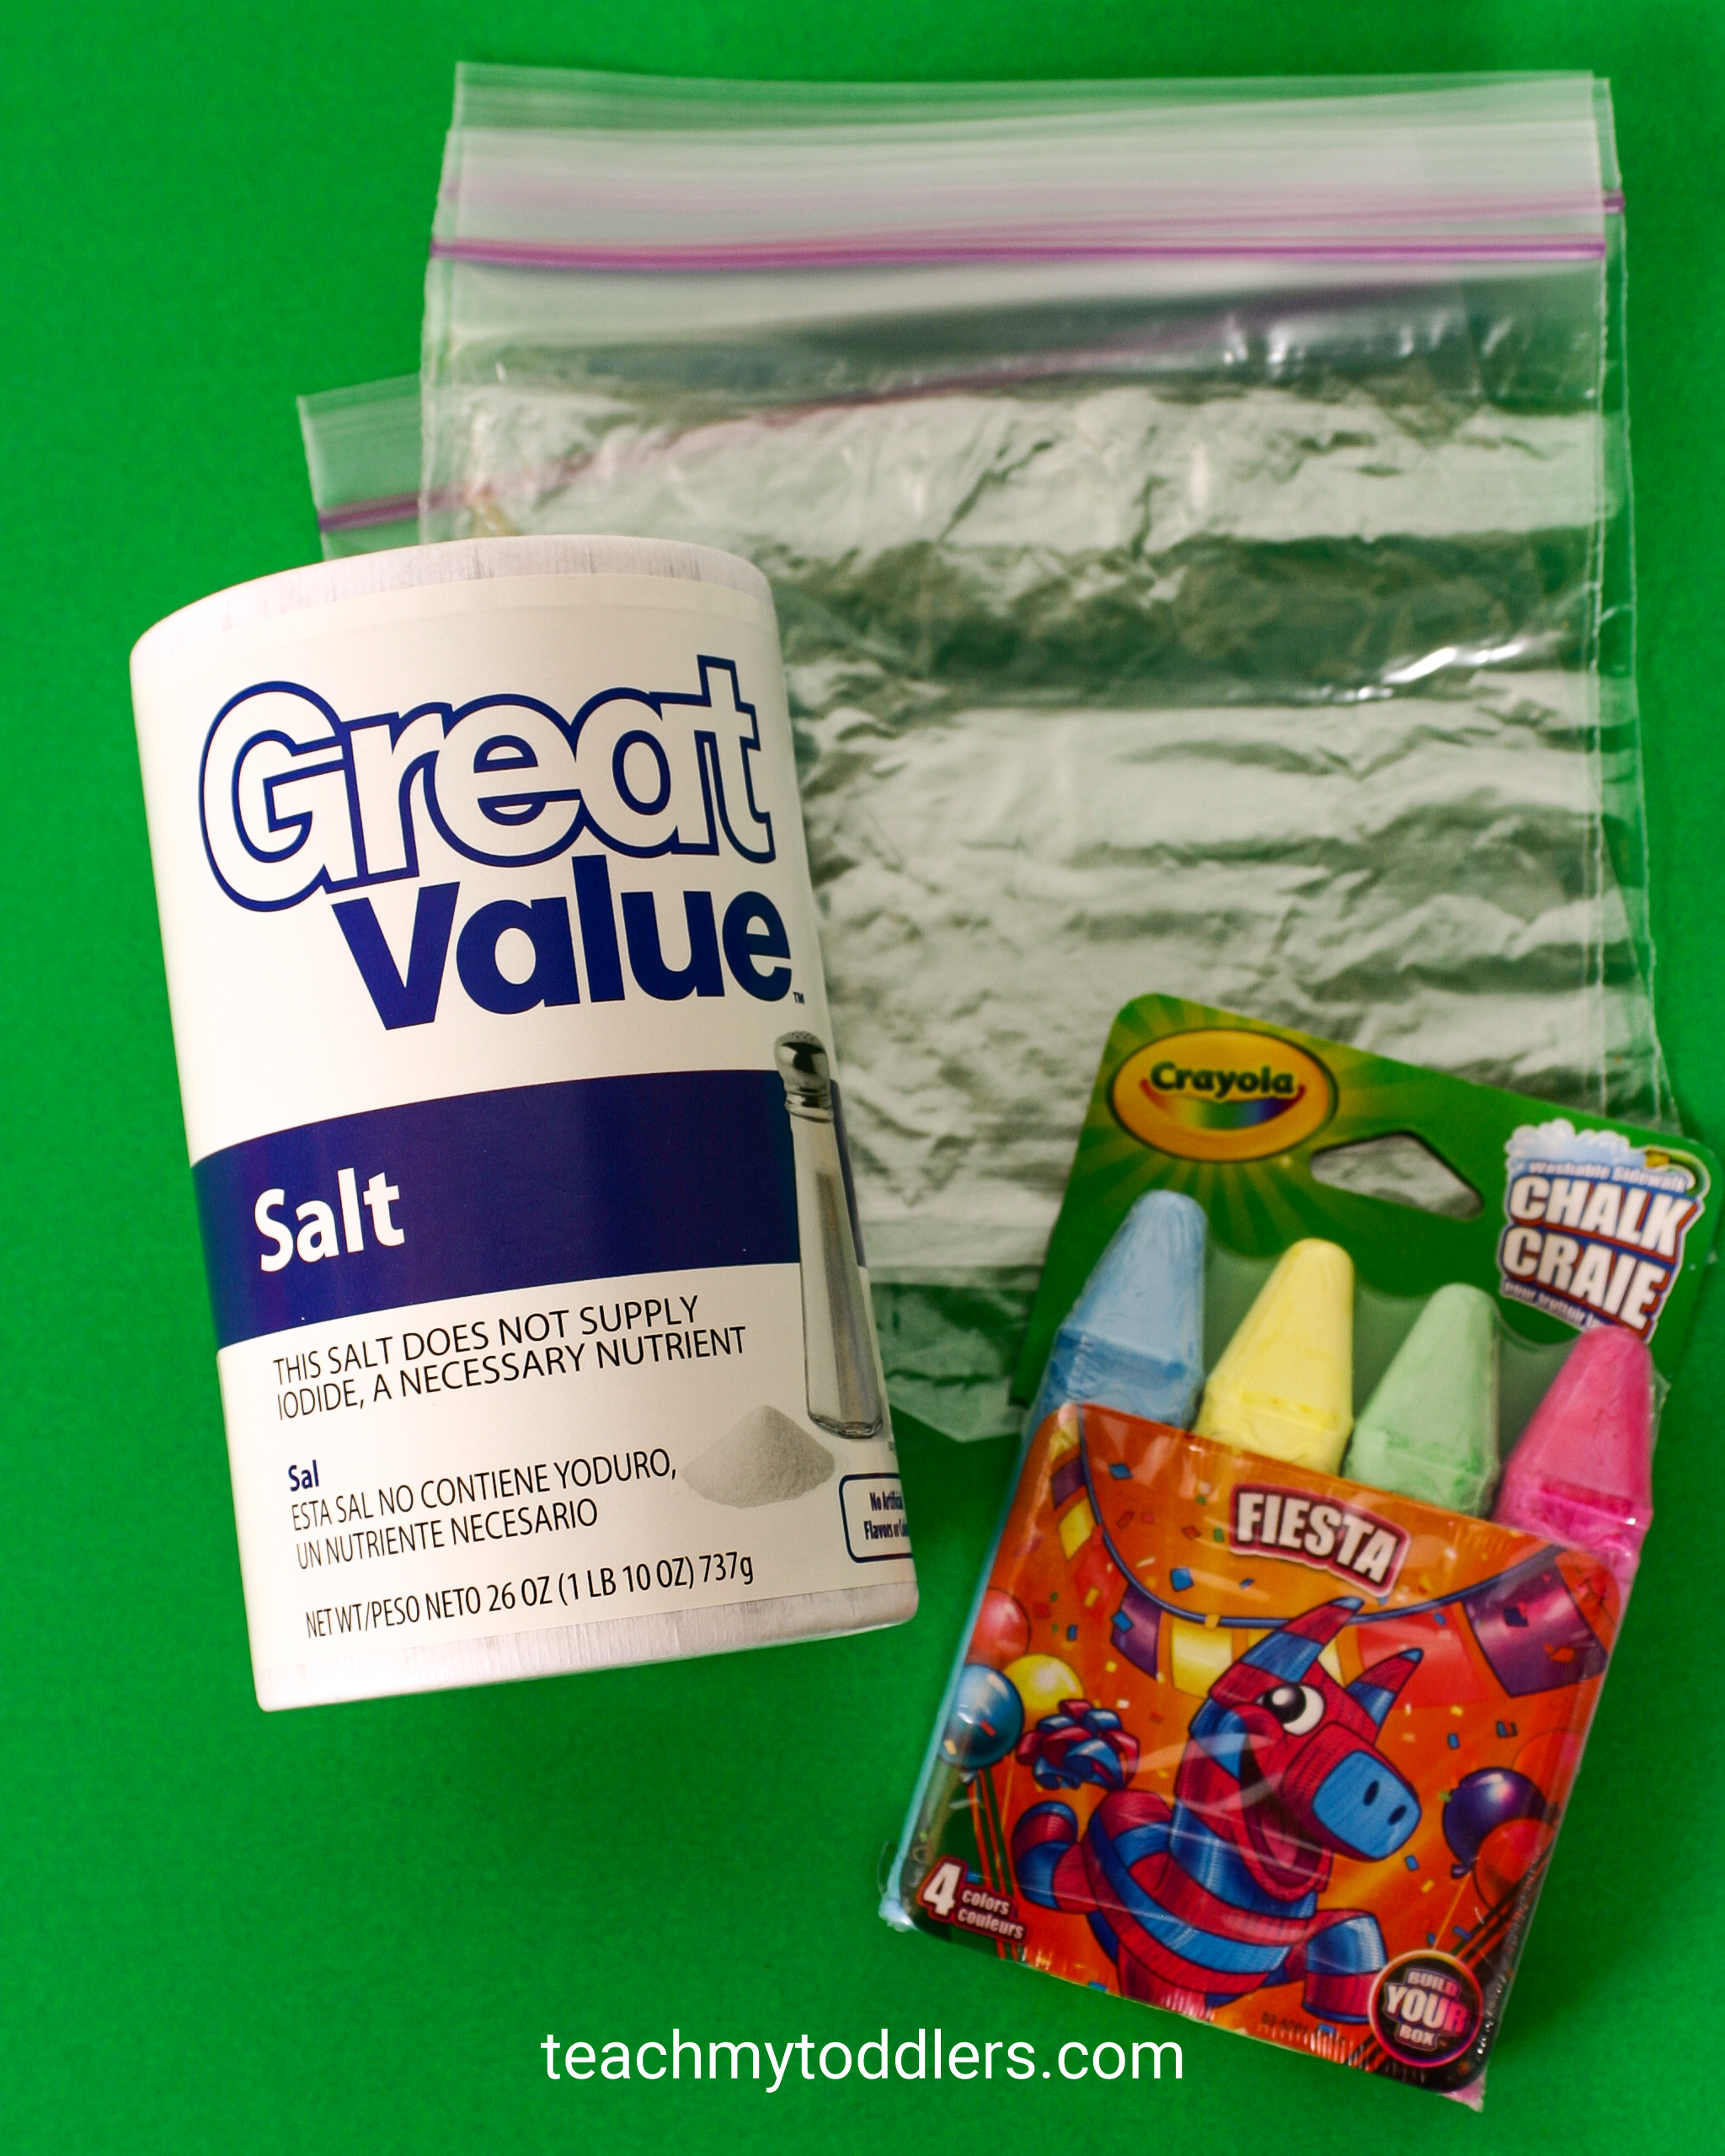
- Salt (any salt will work, the cheaper the better!)
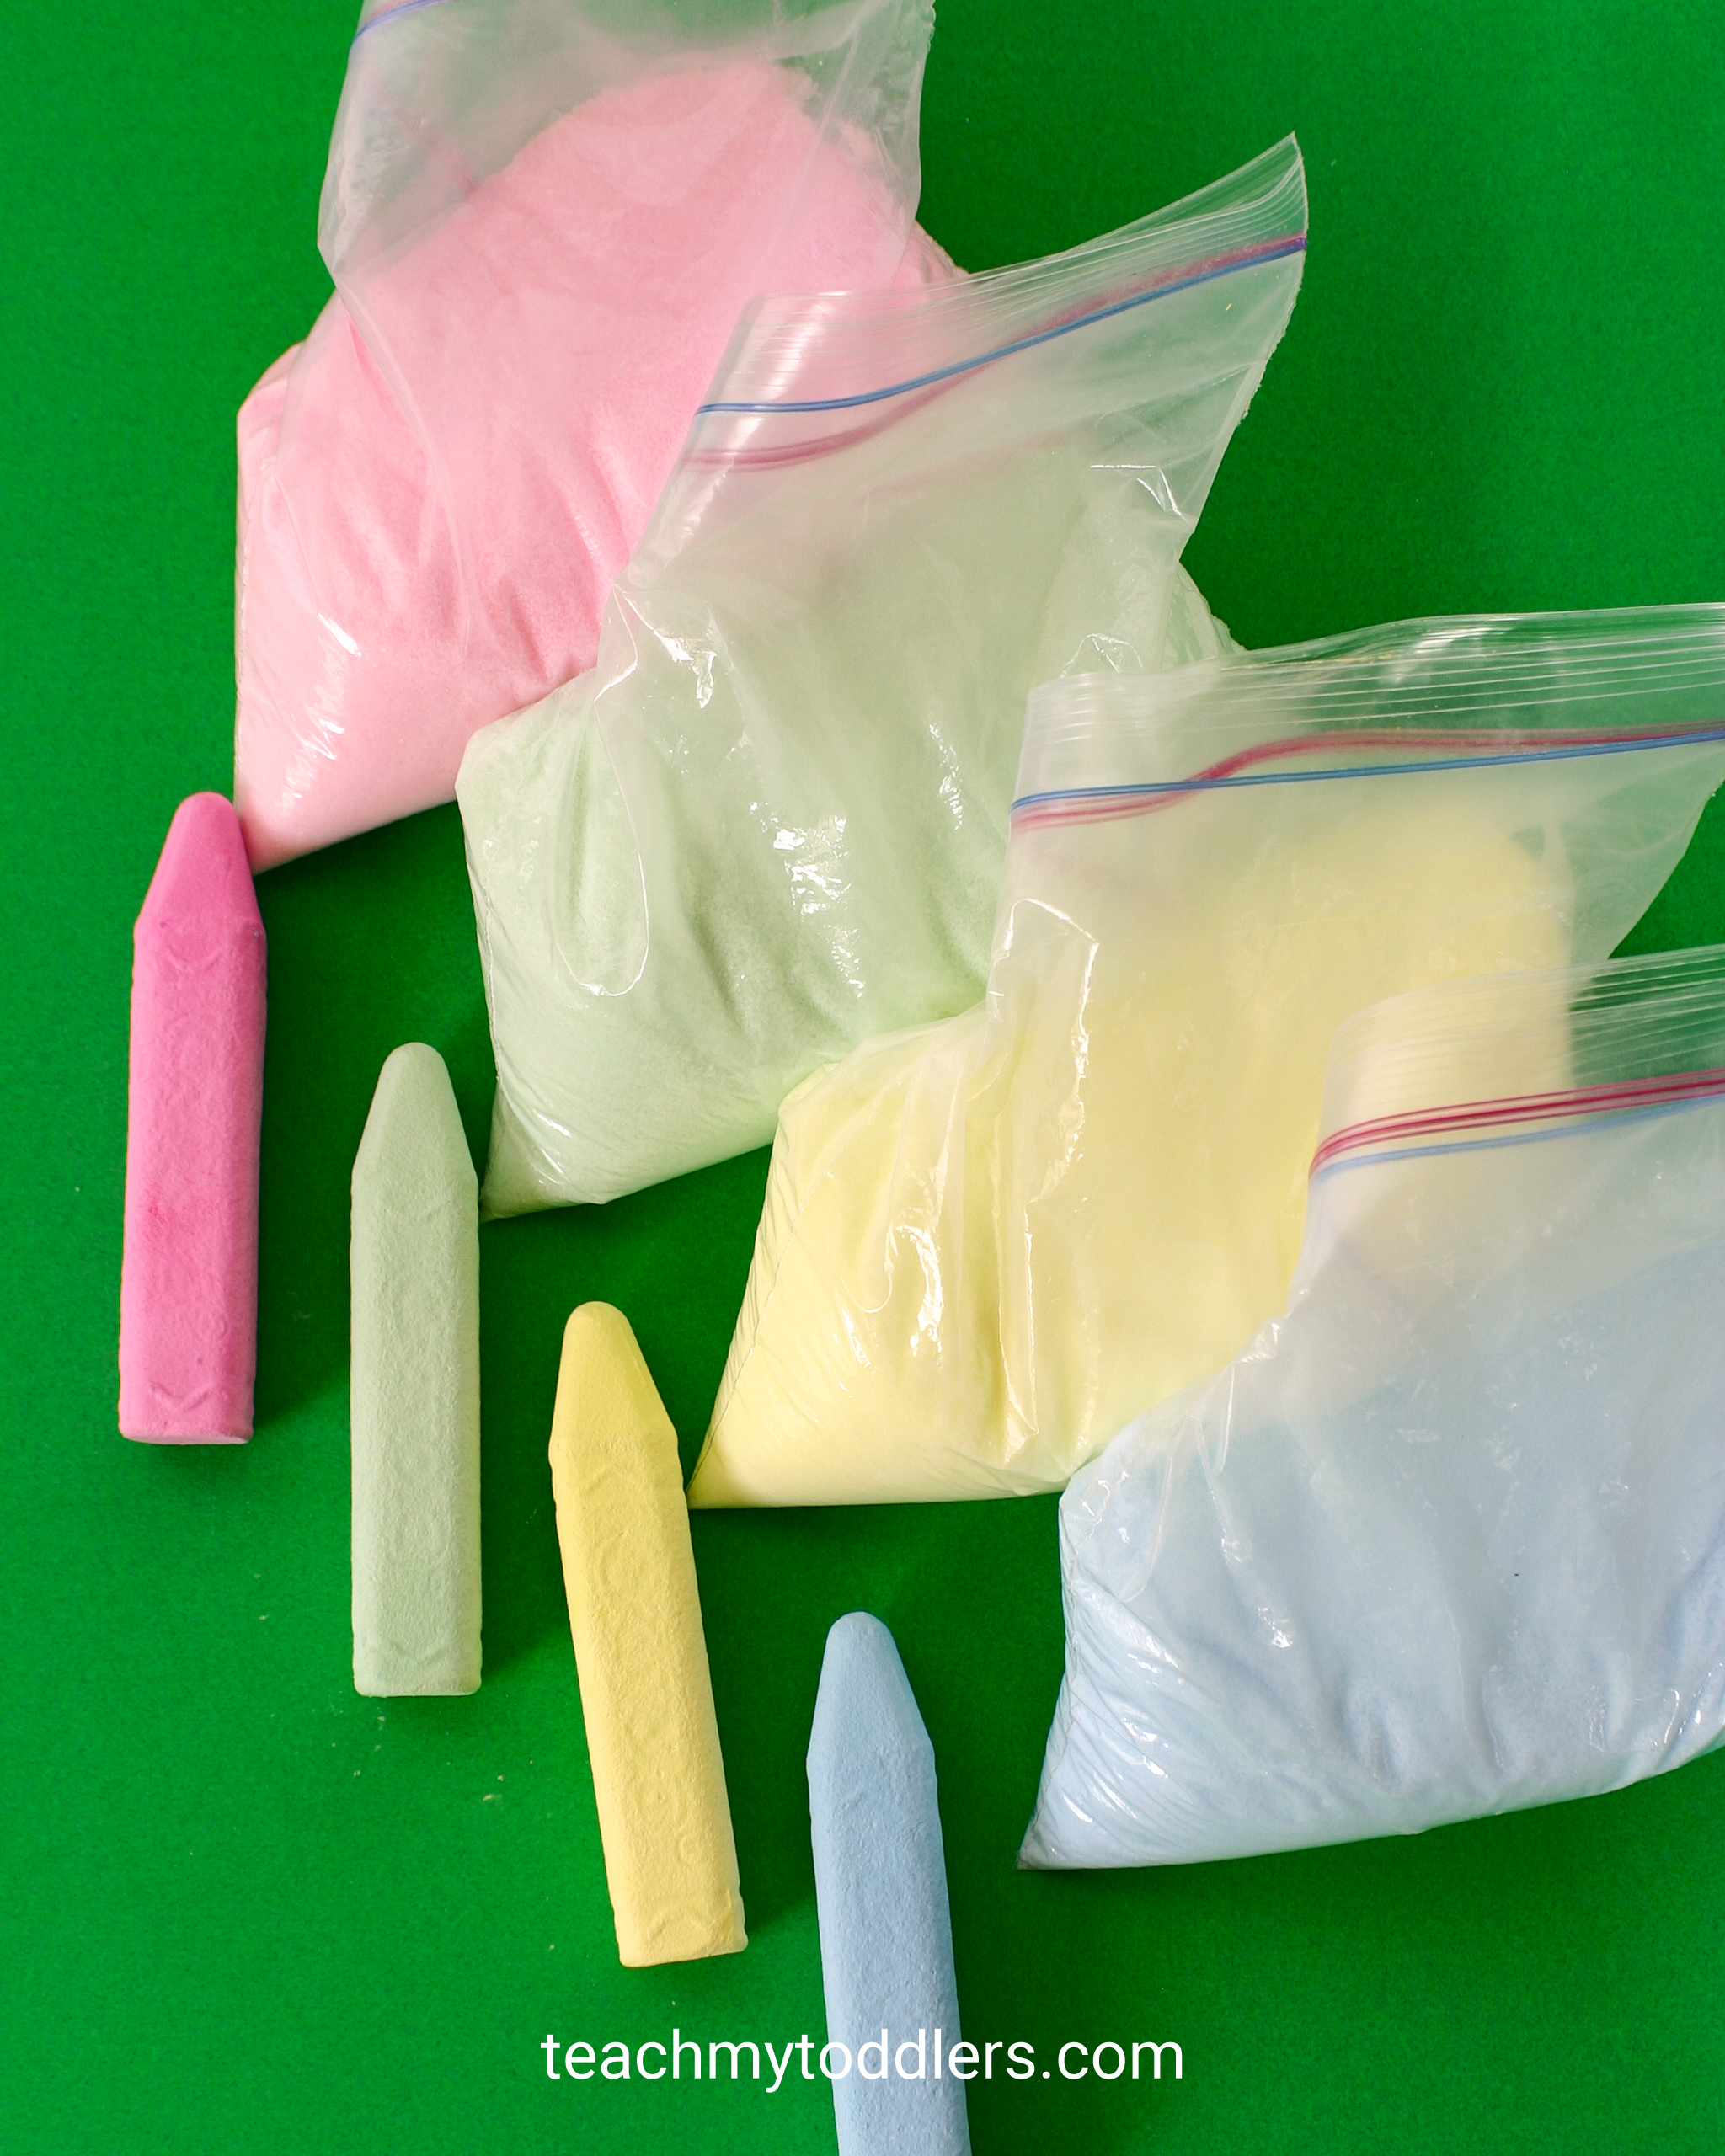
- Chalk (I chose Crayola because the colors are more vibrant)
- Sandwich bags
How to Make it
1. Pour Salt in Bag
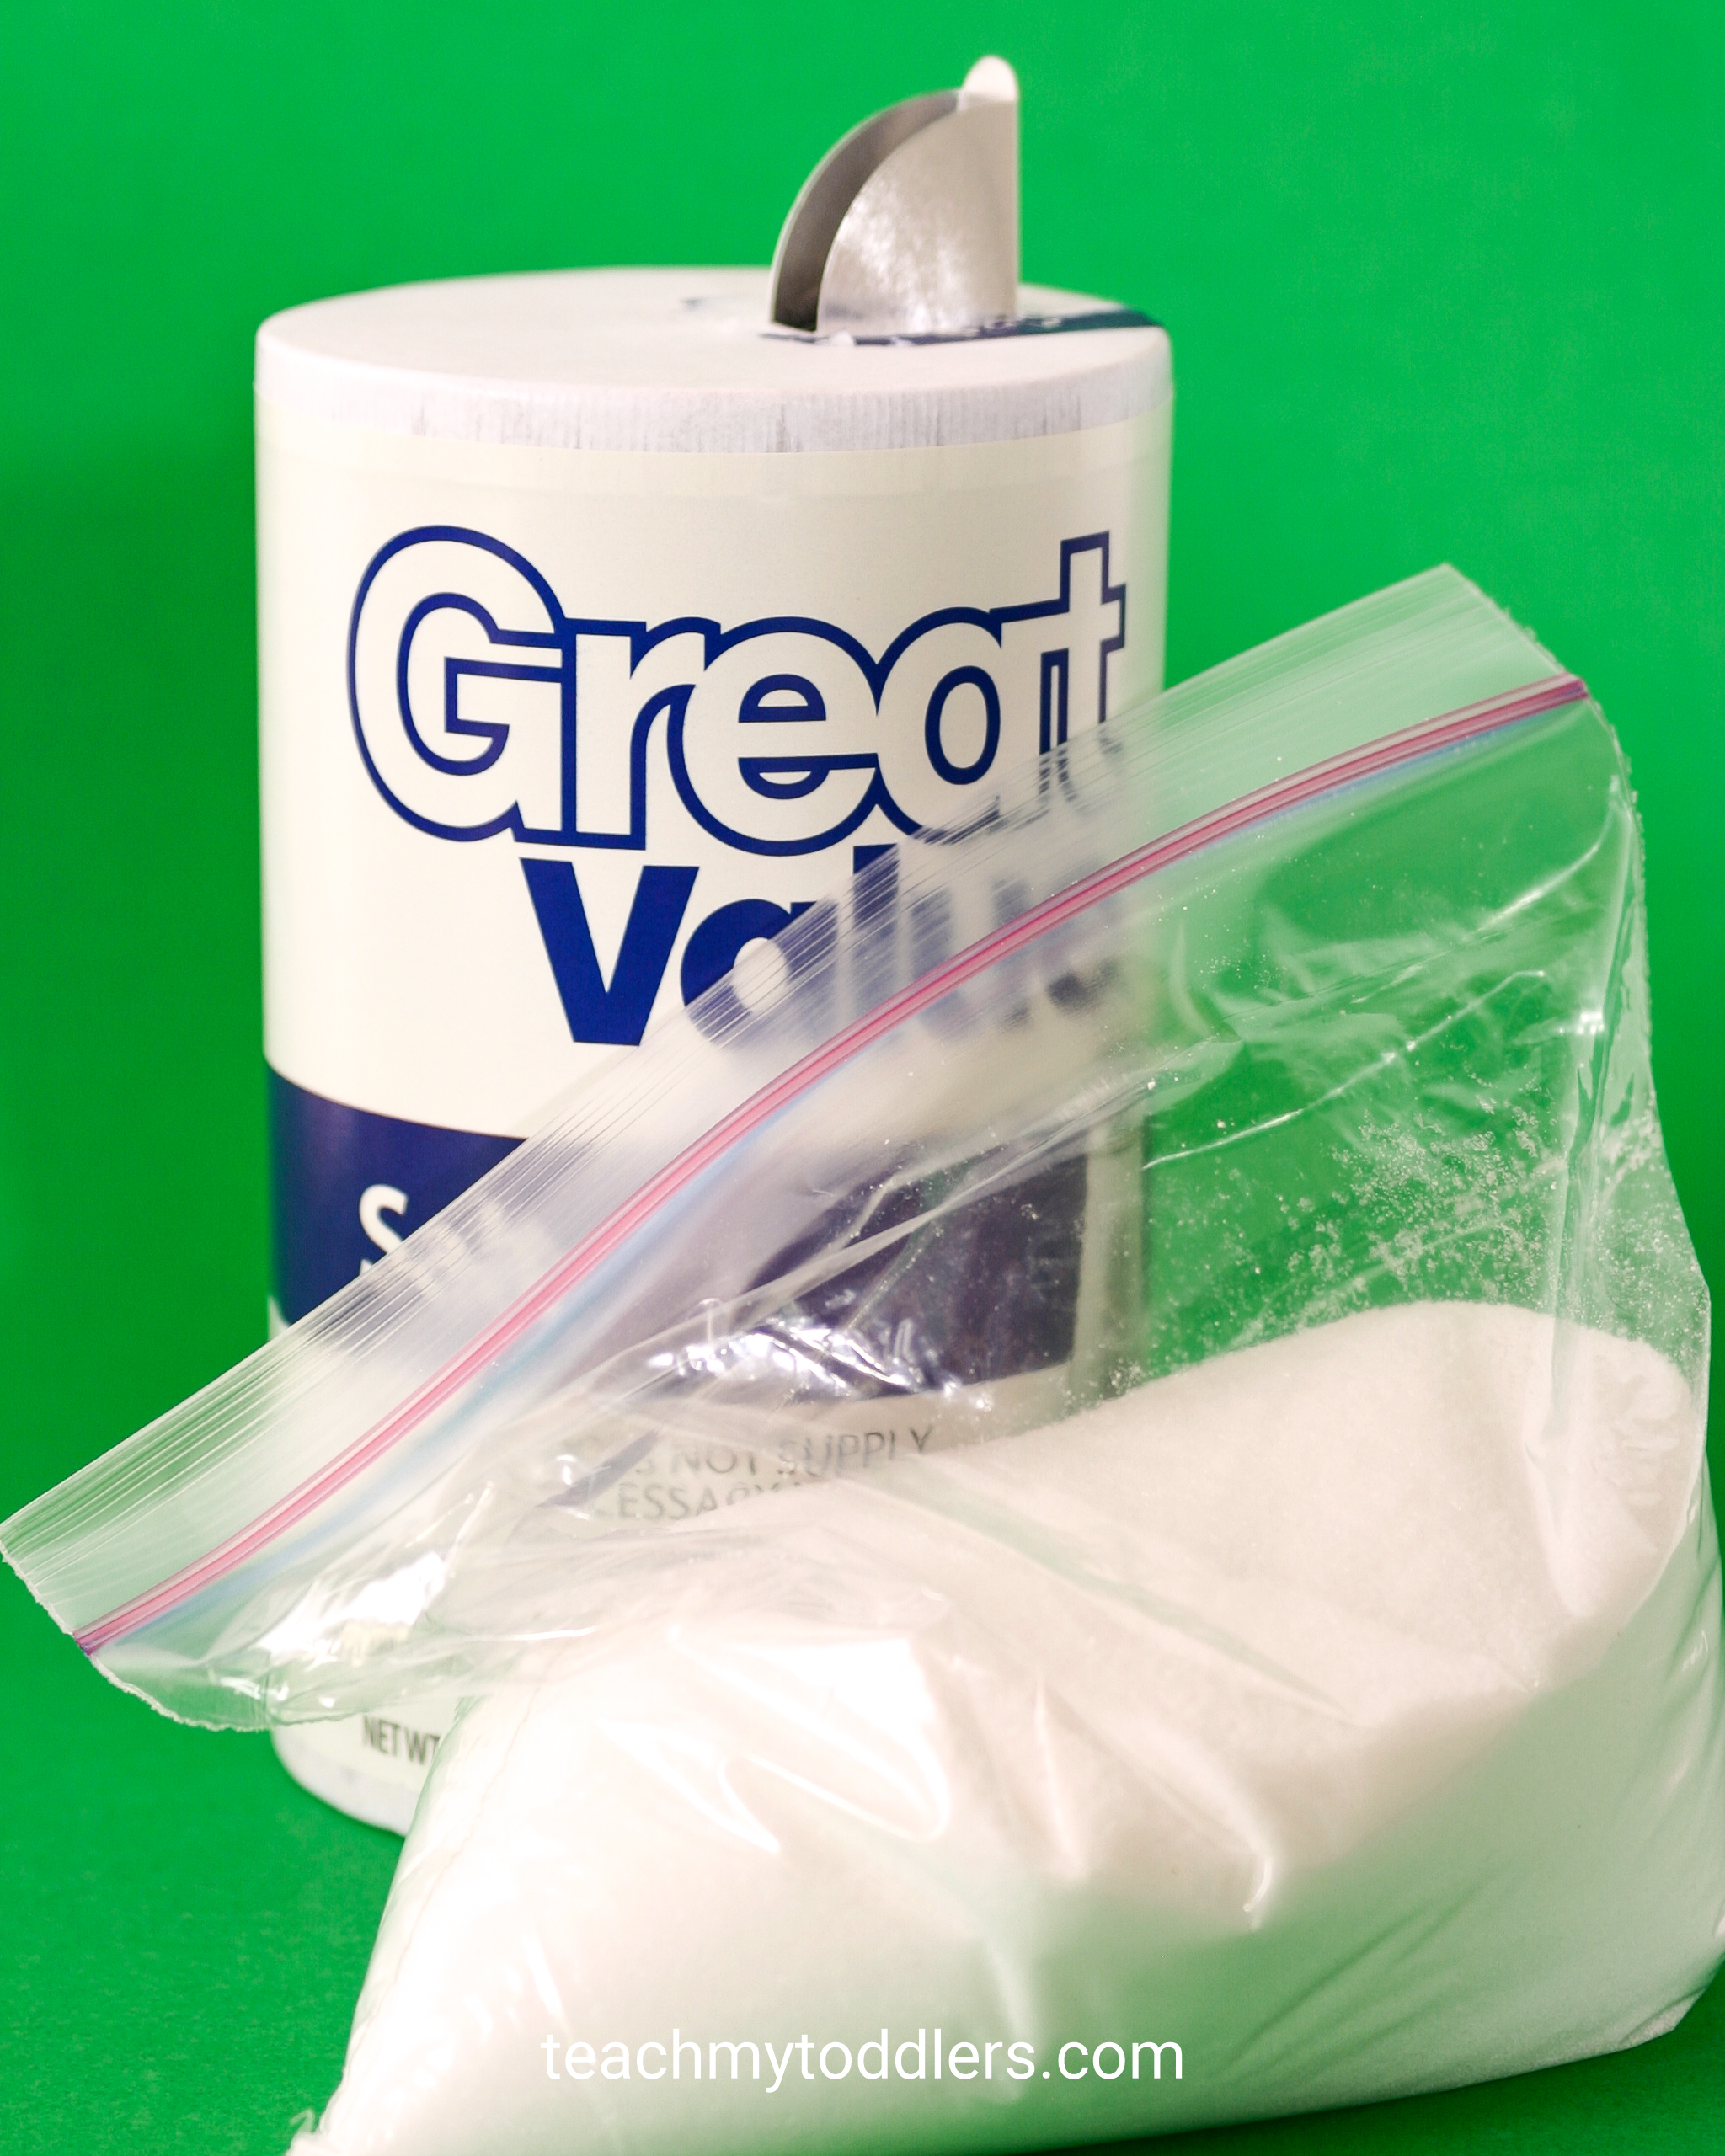
Pour salt into a sandwich bag. The more salt you pour, the more colored salt you’ll end up with. I filled my bags about 2/3 of the way full.
2. Add Chalk
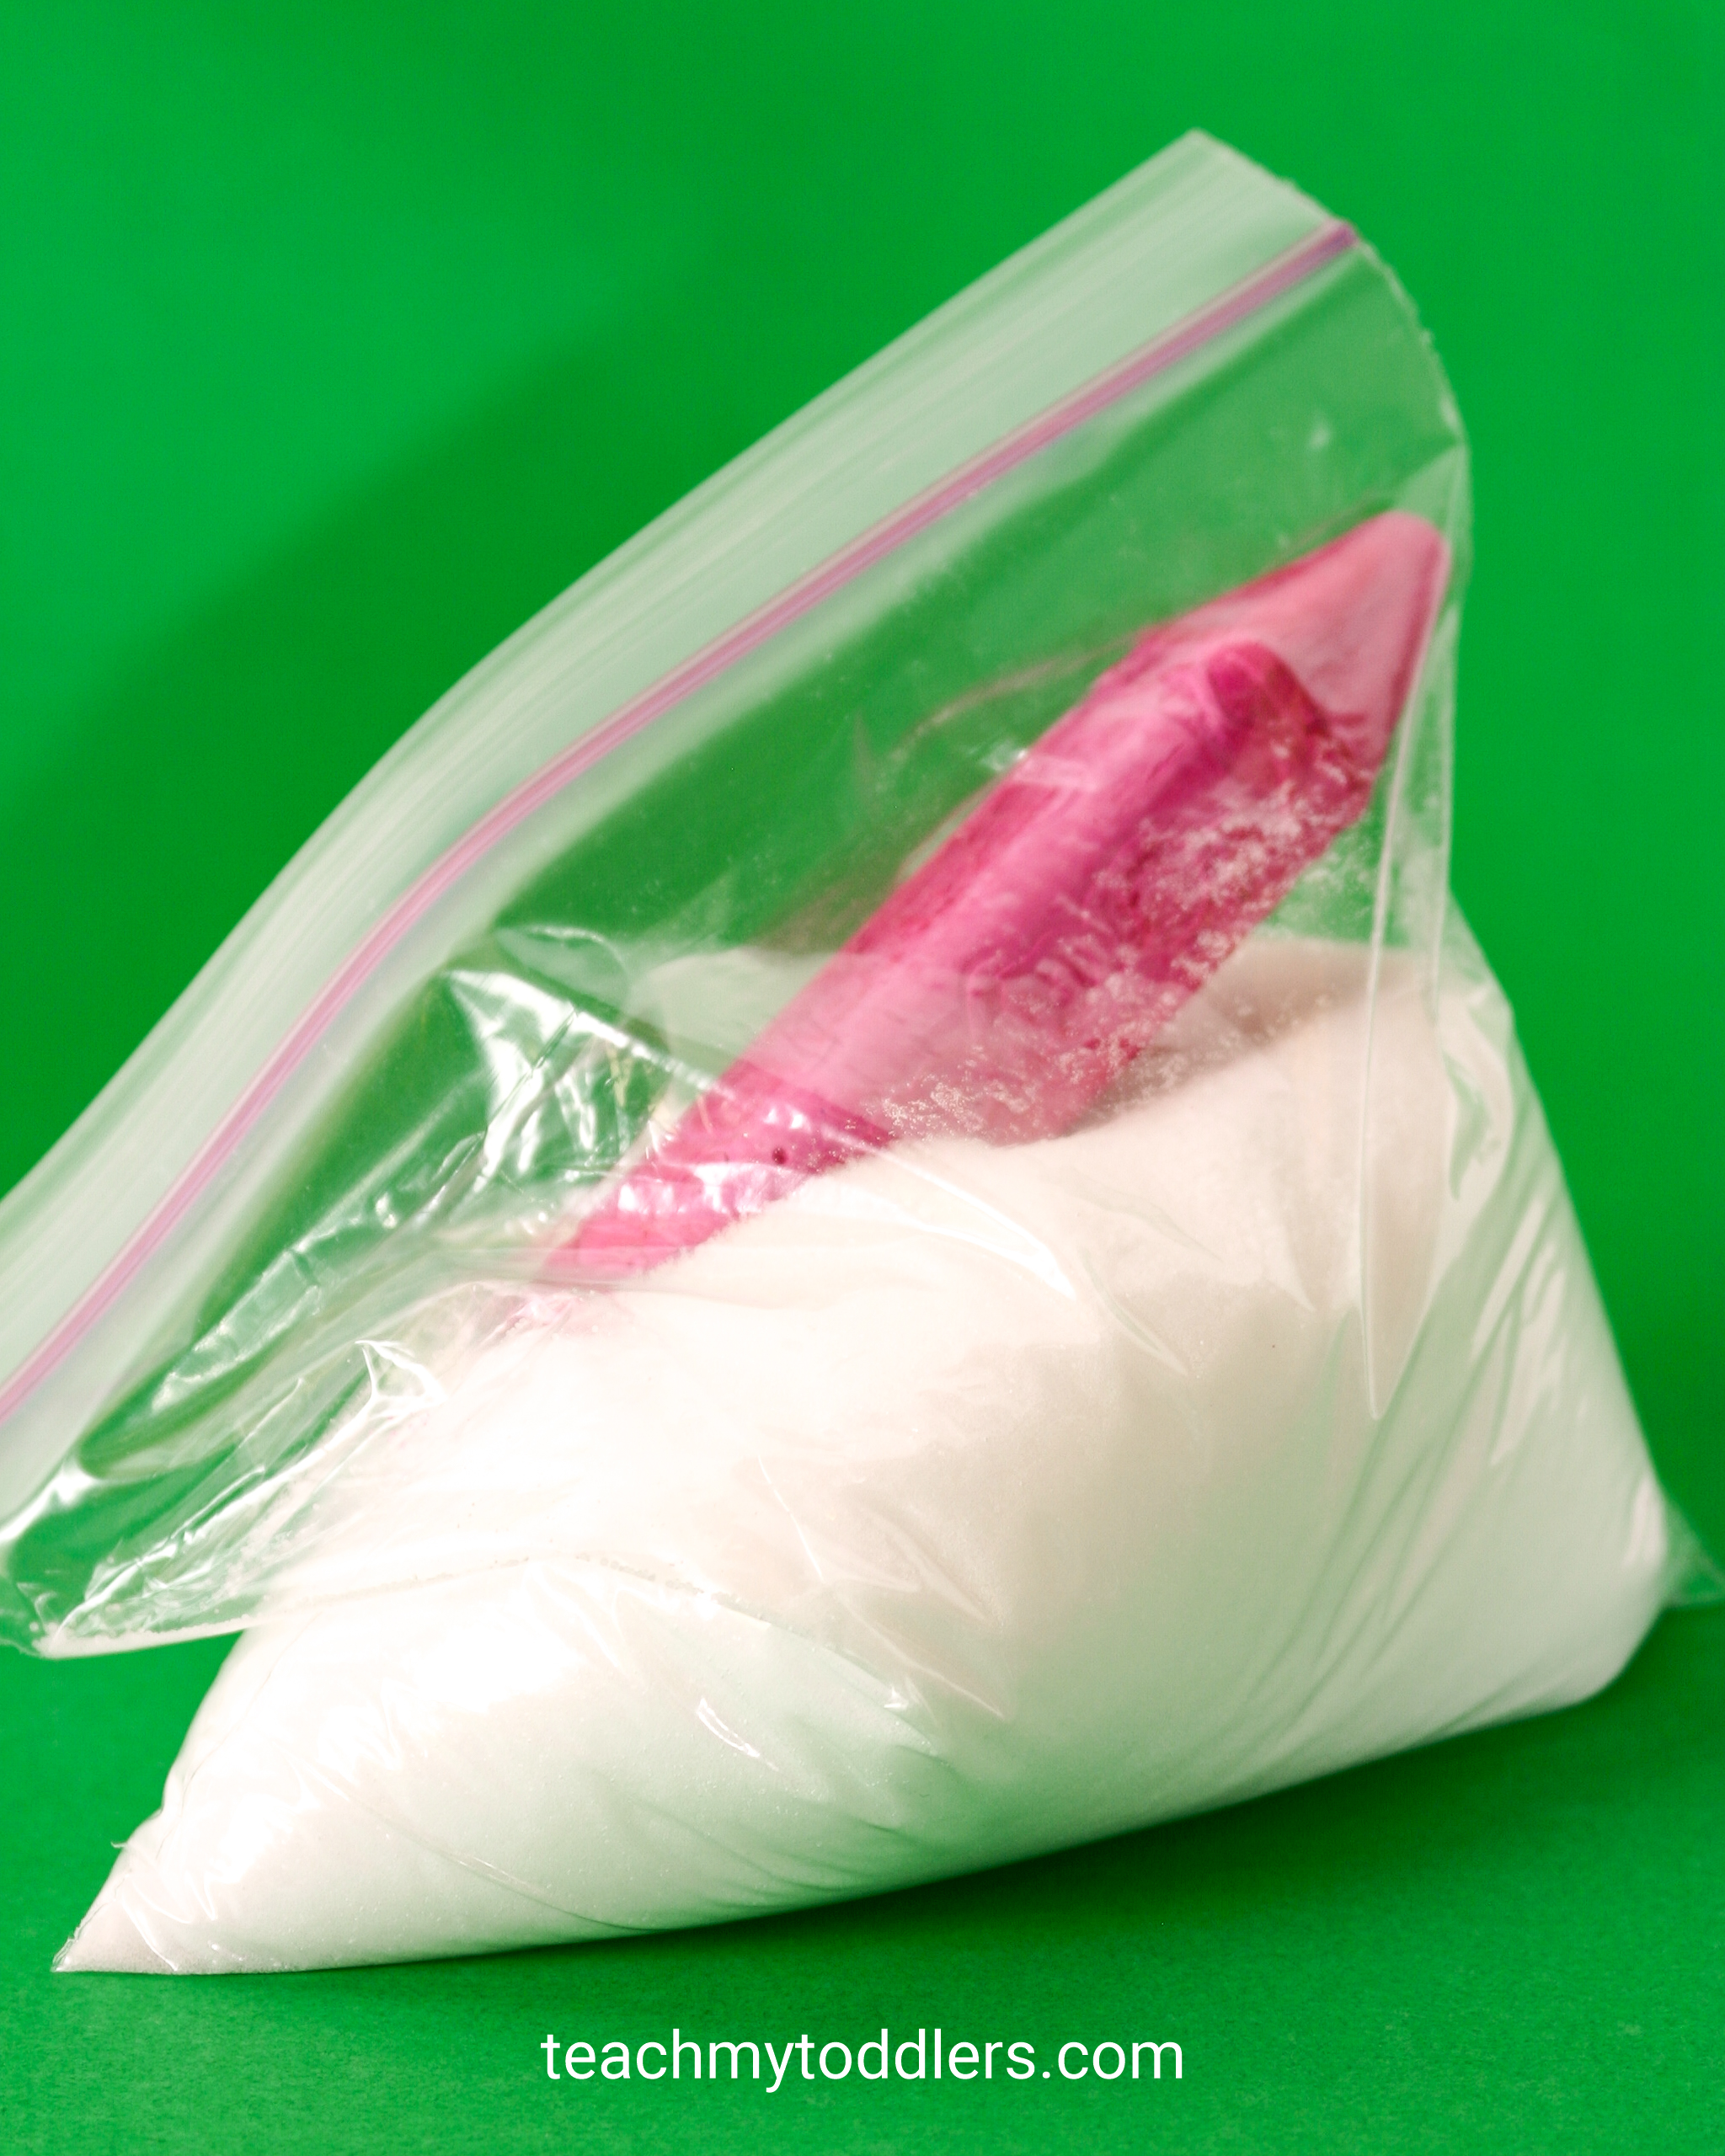
Choose one color of chalk and put it in the bag with the salt. Zip the top of the baggie securely. You’ll want to make sure there isn’t any extra air in the baggie; this will make the next step much easier.
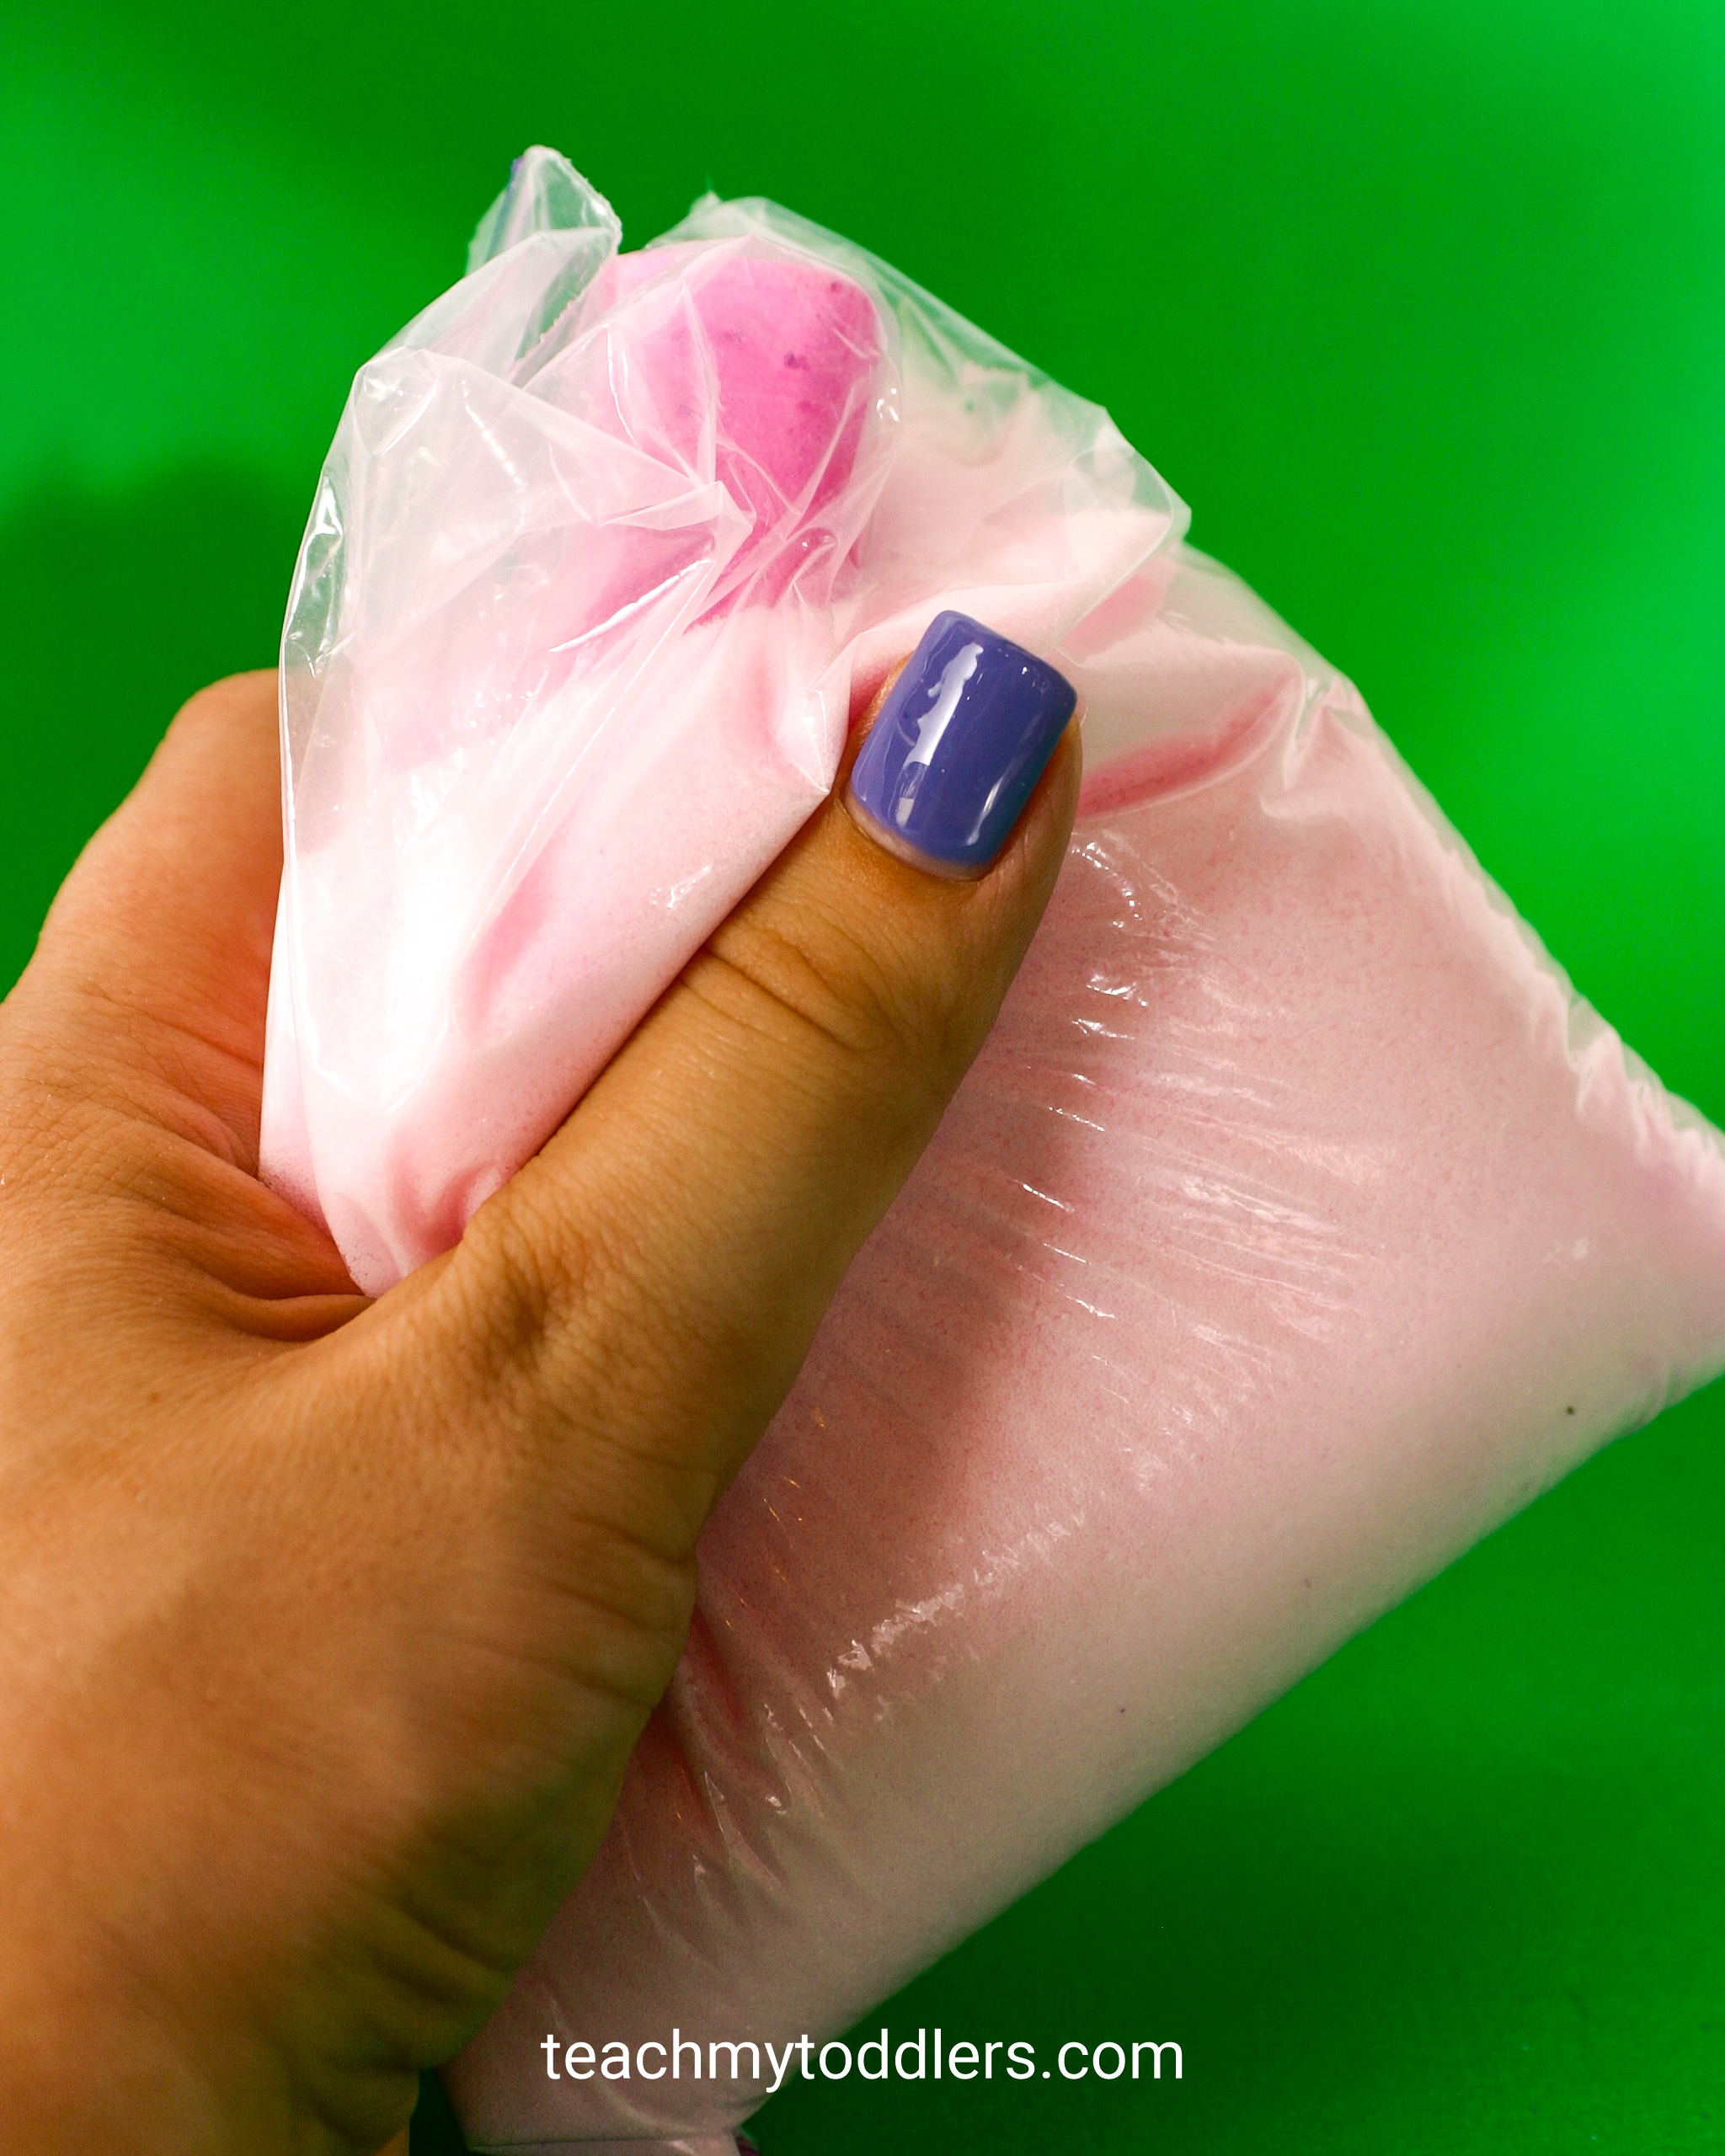
3. Squish Bag
Use both hands and squish the bag around. This step takes the longest so get ready! The salt will act kind of like sandpaper against the chalk and will distribute small bits of chalk (which also means small bits of color) throughout the salt. Some of the colors (pink and yellow) started getting distributed right away. The blue took a bit of squishing before any color started getting distributed. If you are using cheaper or less pigmented chalk it will probably take awhile before the color starts to show. But be patient because that color will show eventually.
How to Play
Now for the fun part, use the colored salt for fun activities! Here are a few of my favorite ways to use colored salt or craft sand.
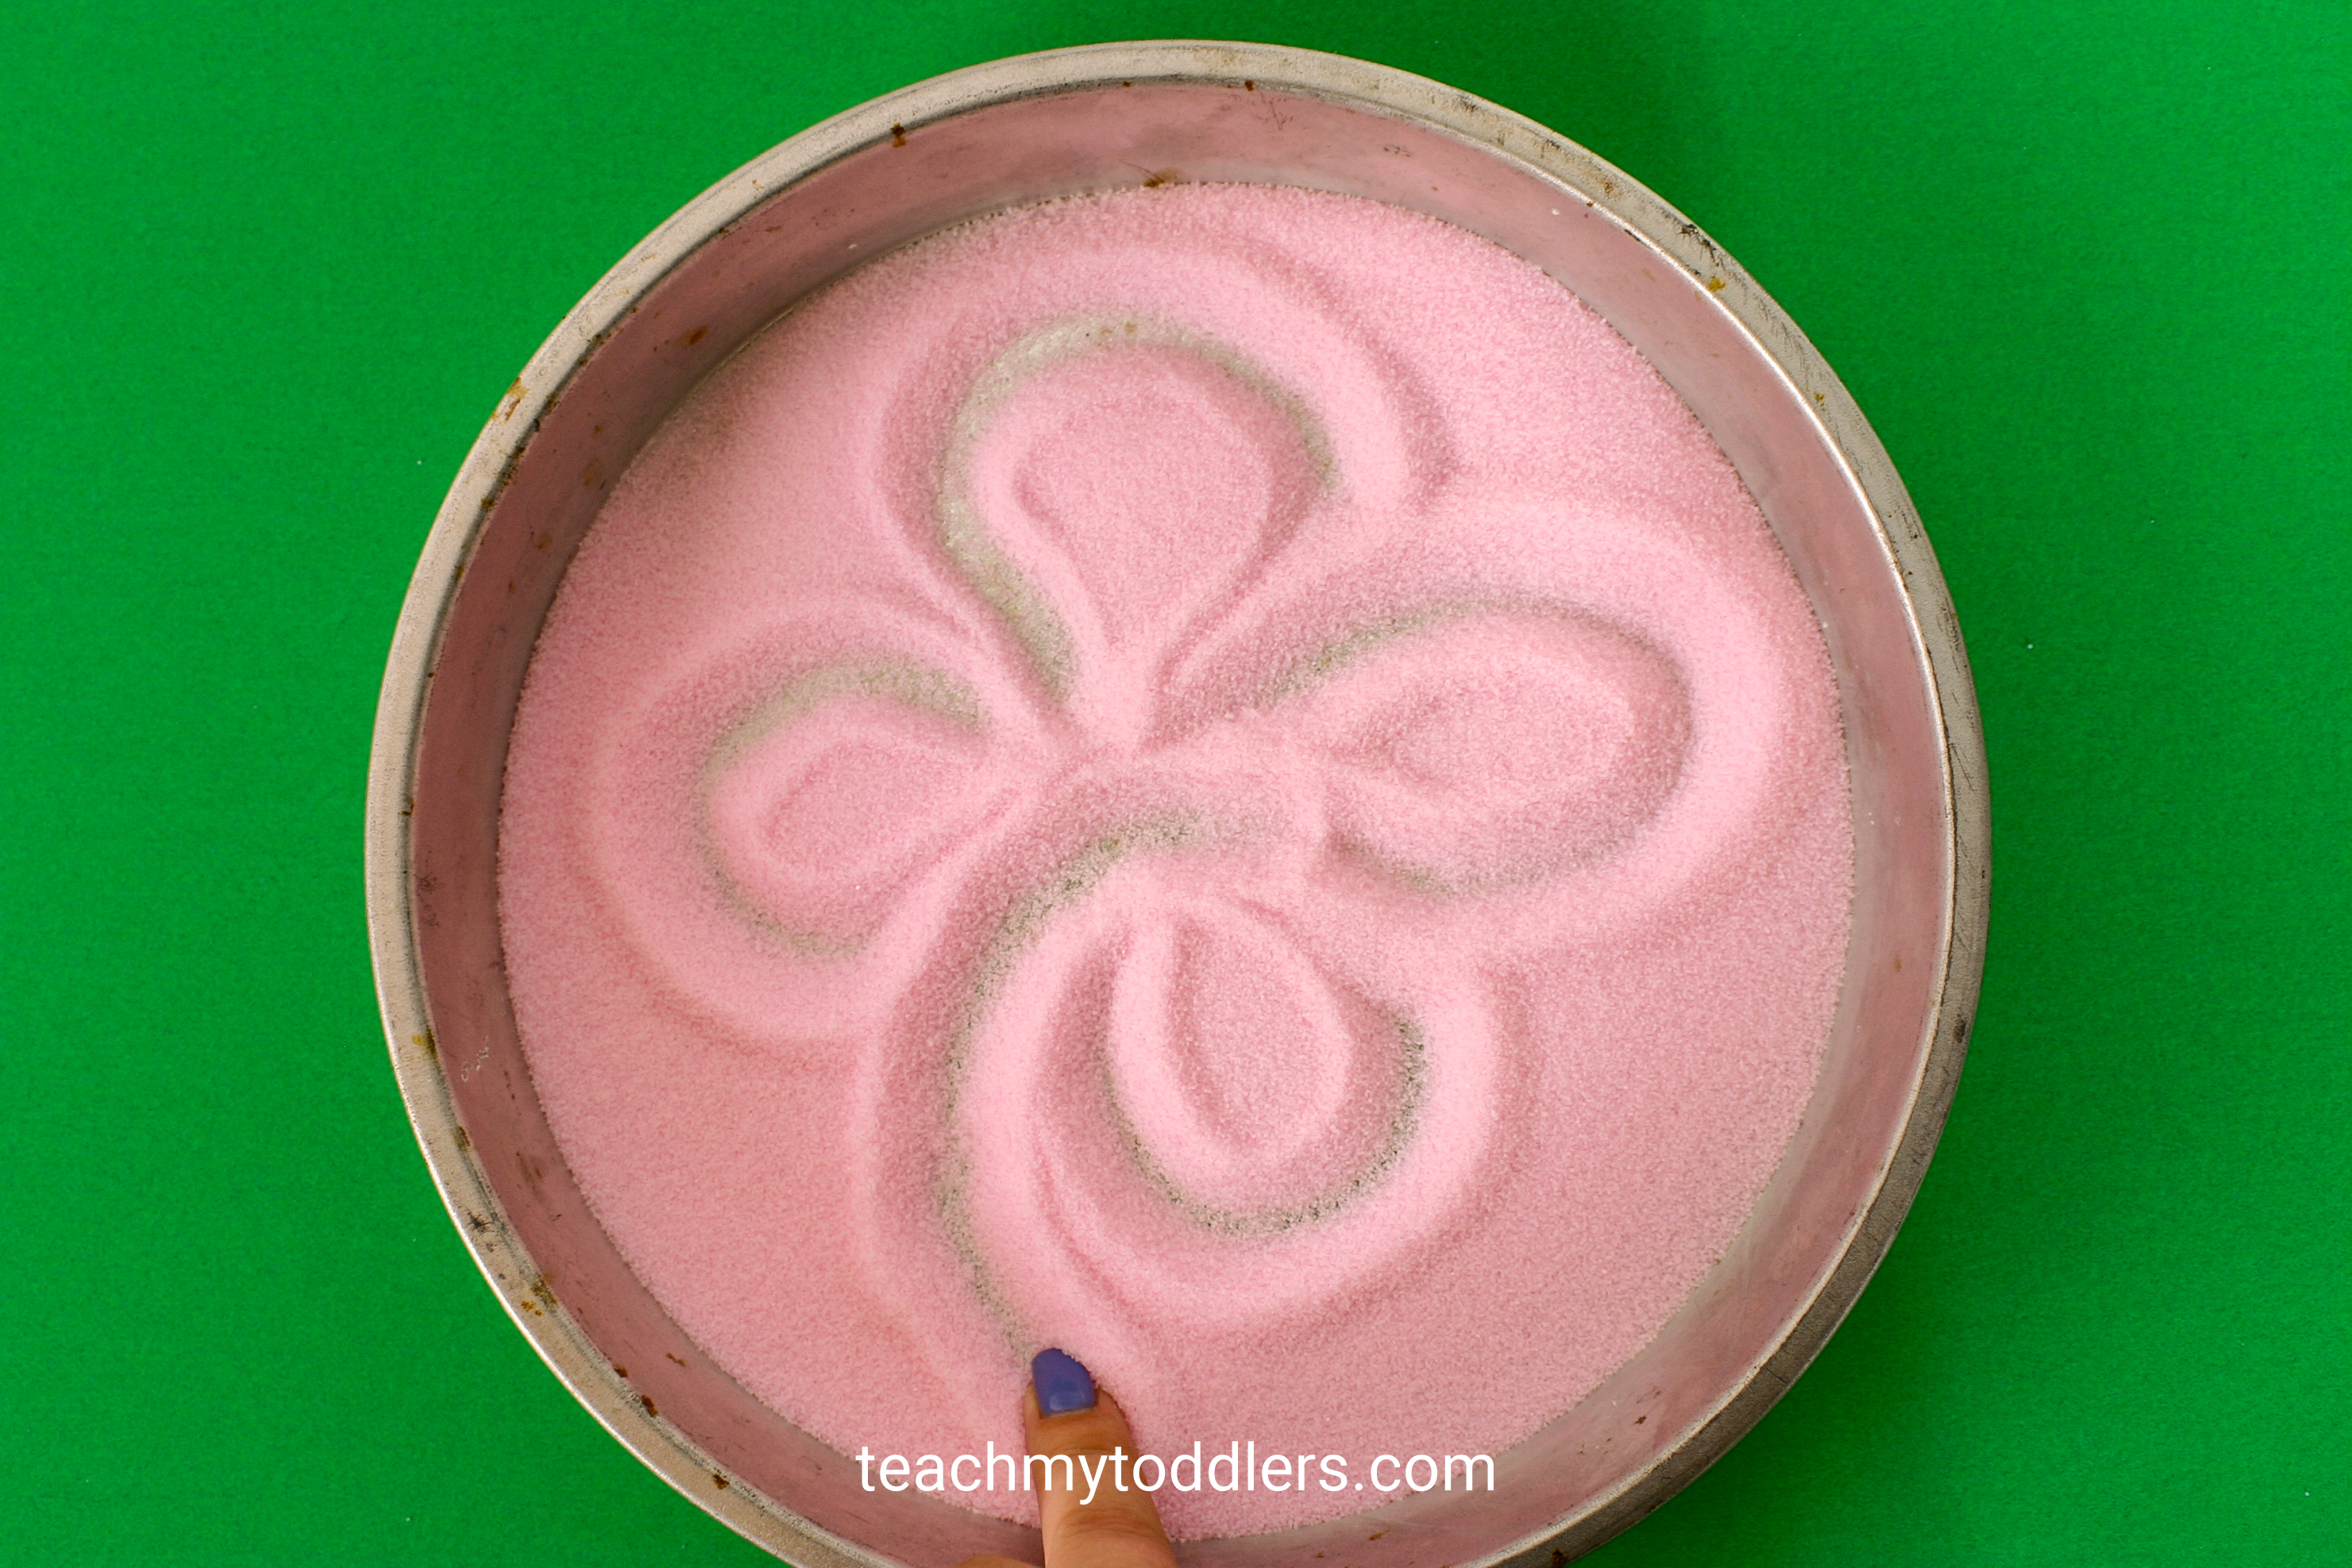
Salt Tray Designs
Pour salt into a pie tin and make fun designs with your finger. Or, you know, have your child make fun designs. 😉
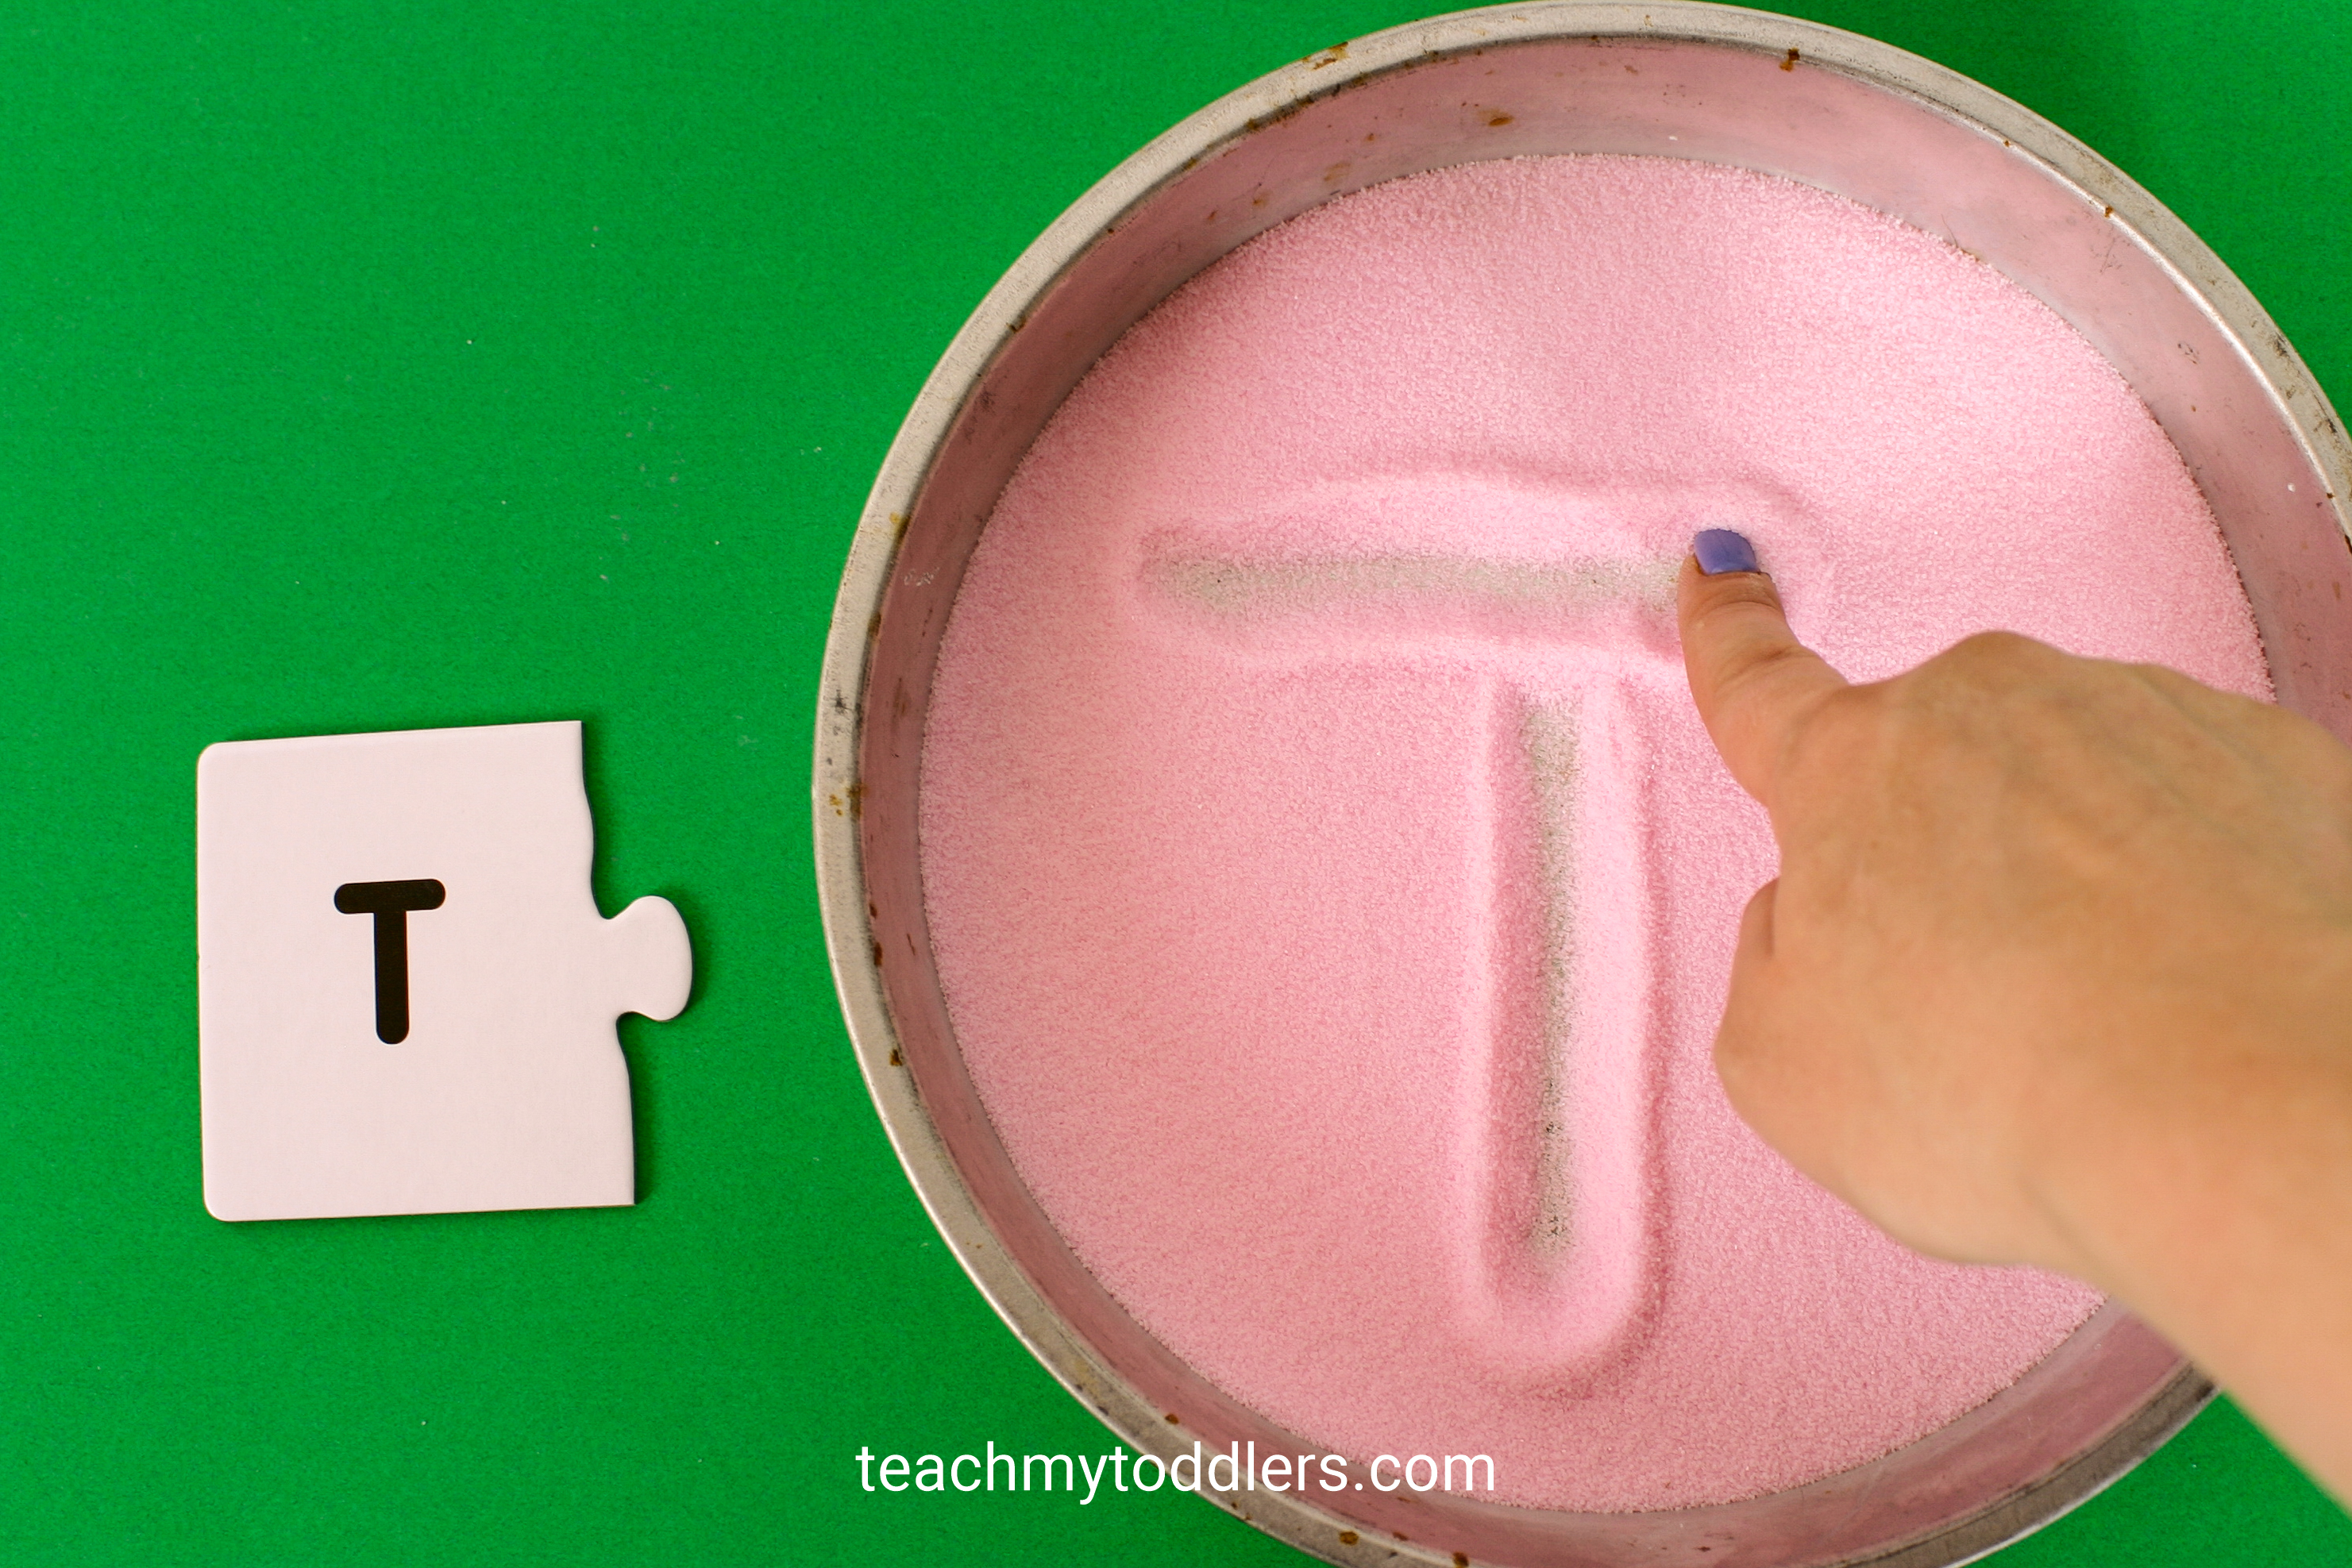
Salt Tray Letters
Practice writing letters in a pie tin filled with colored salt. See my uppercase and lowercase letter prompts for correct letter formation.
Sprinkles
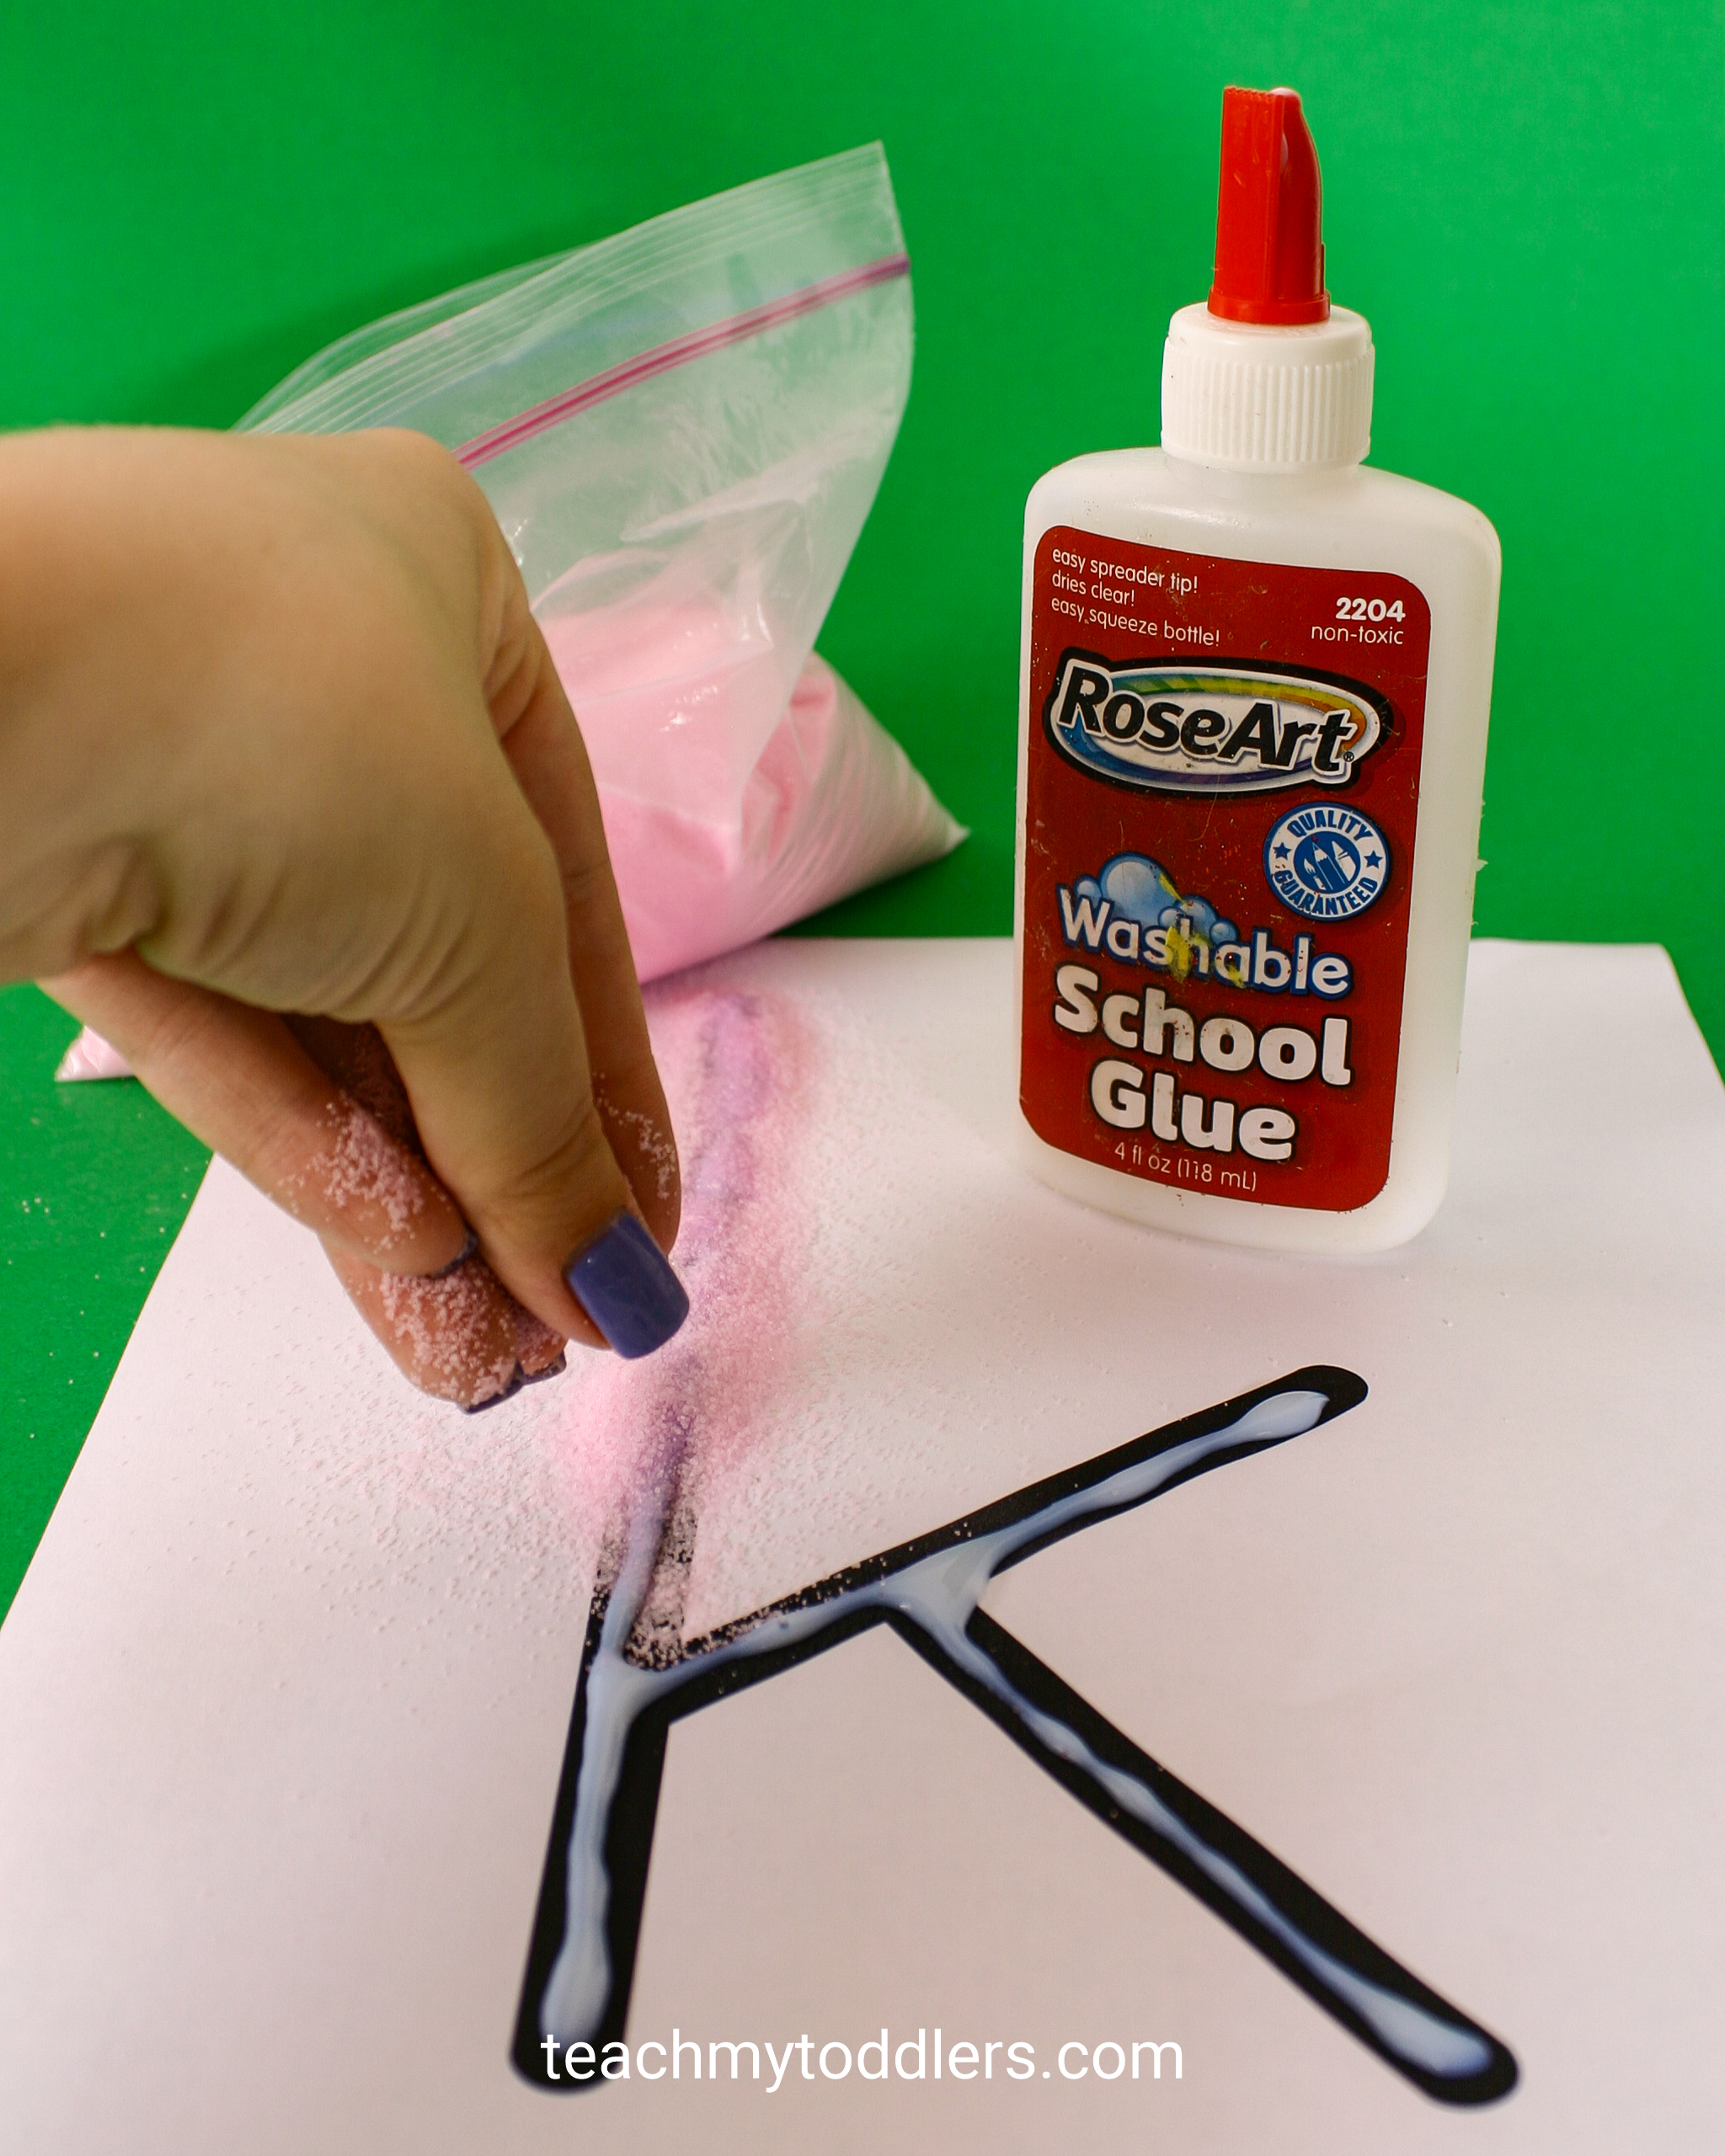
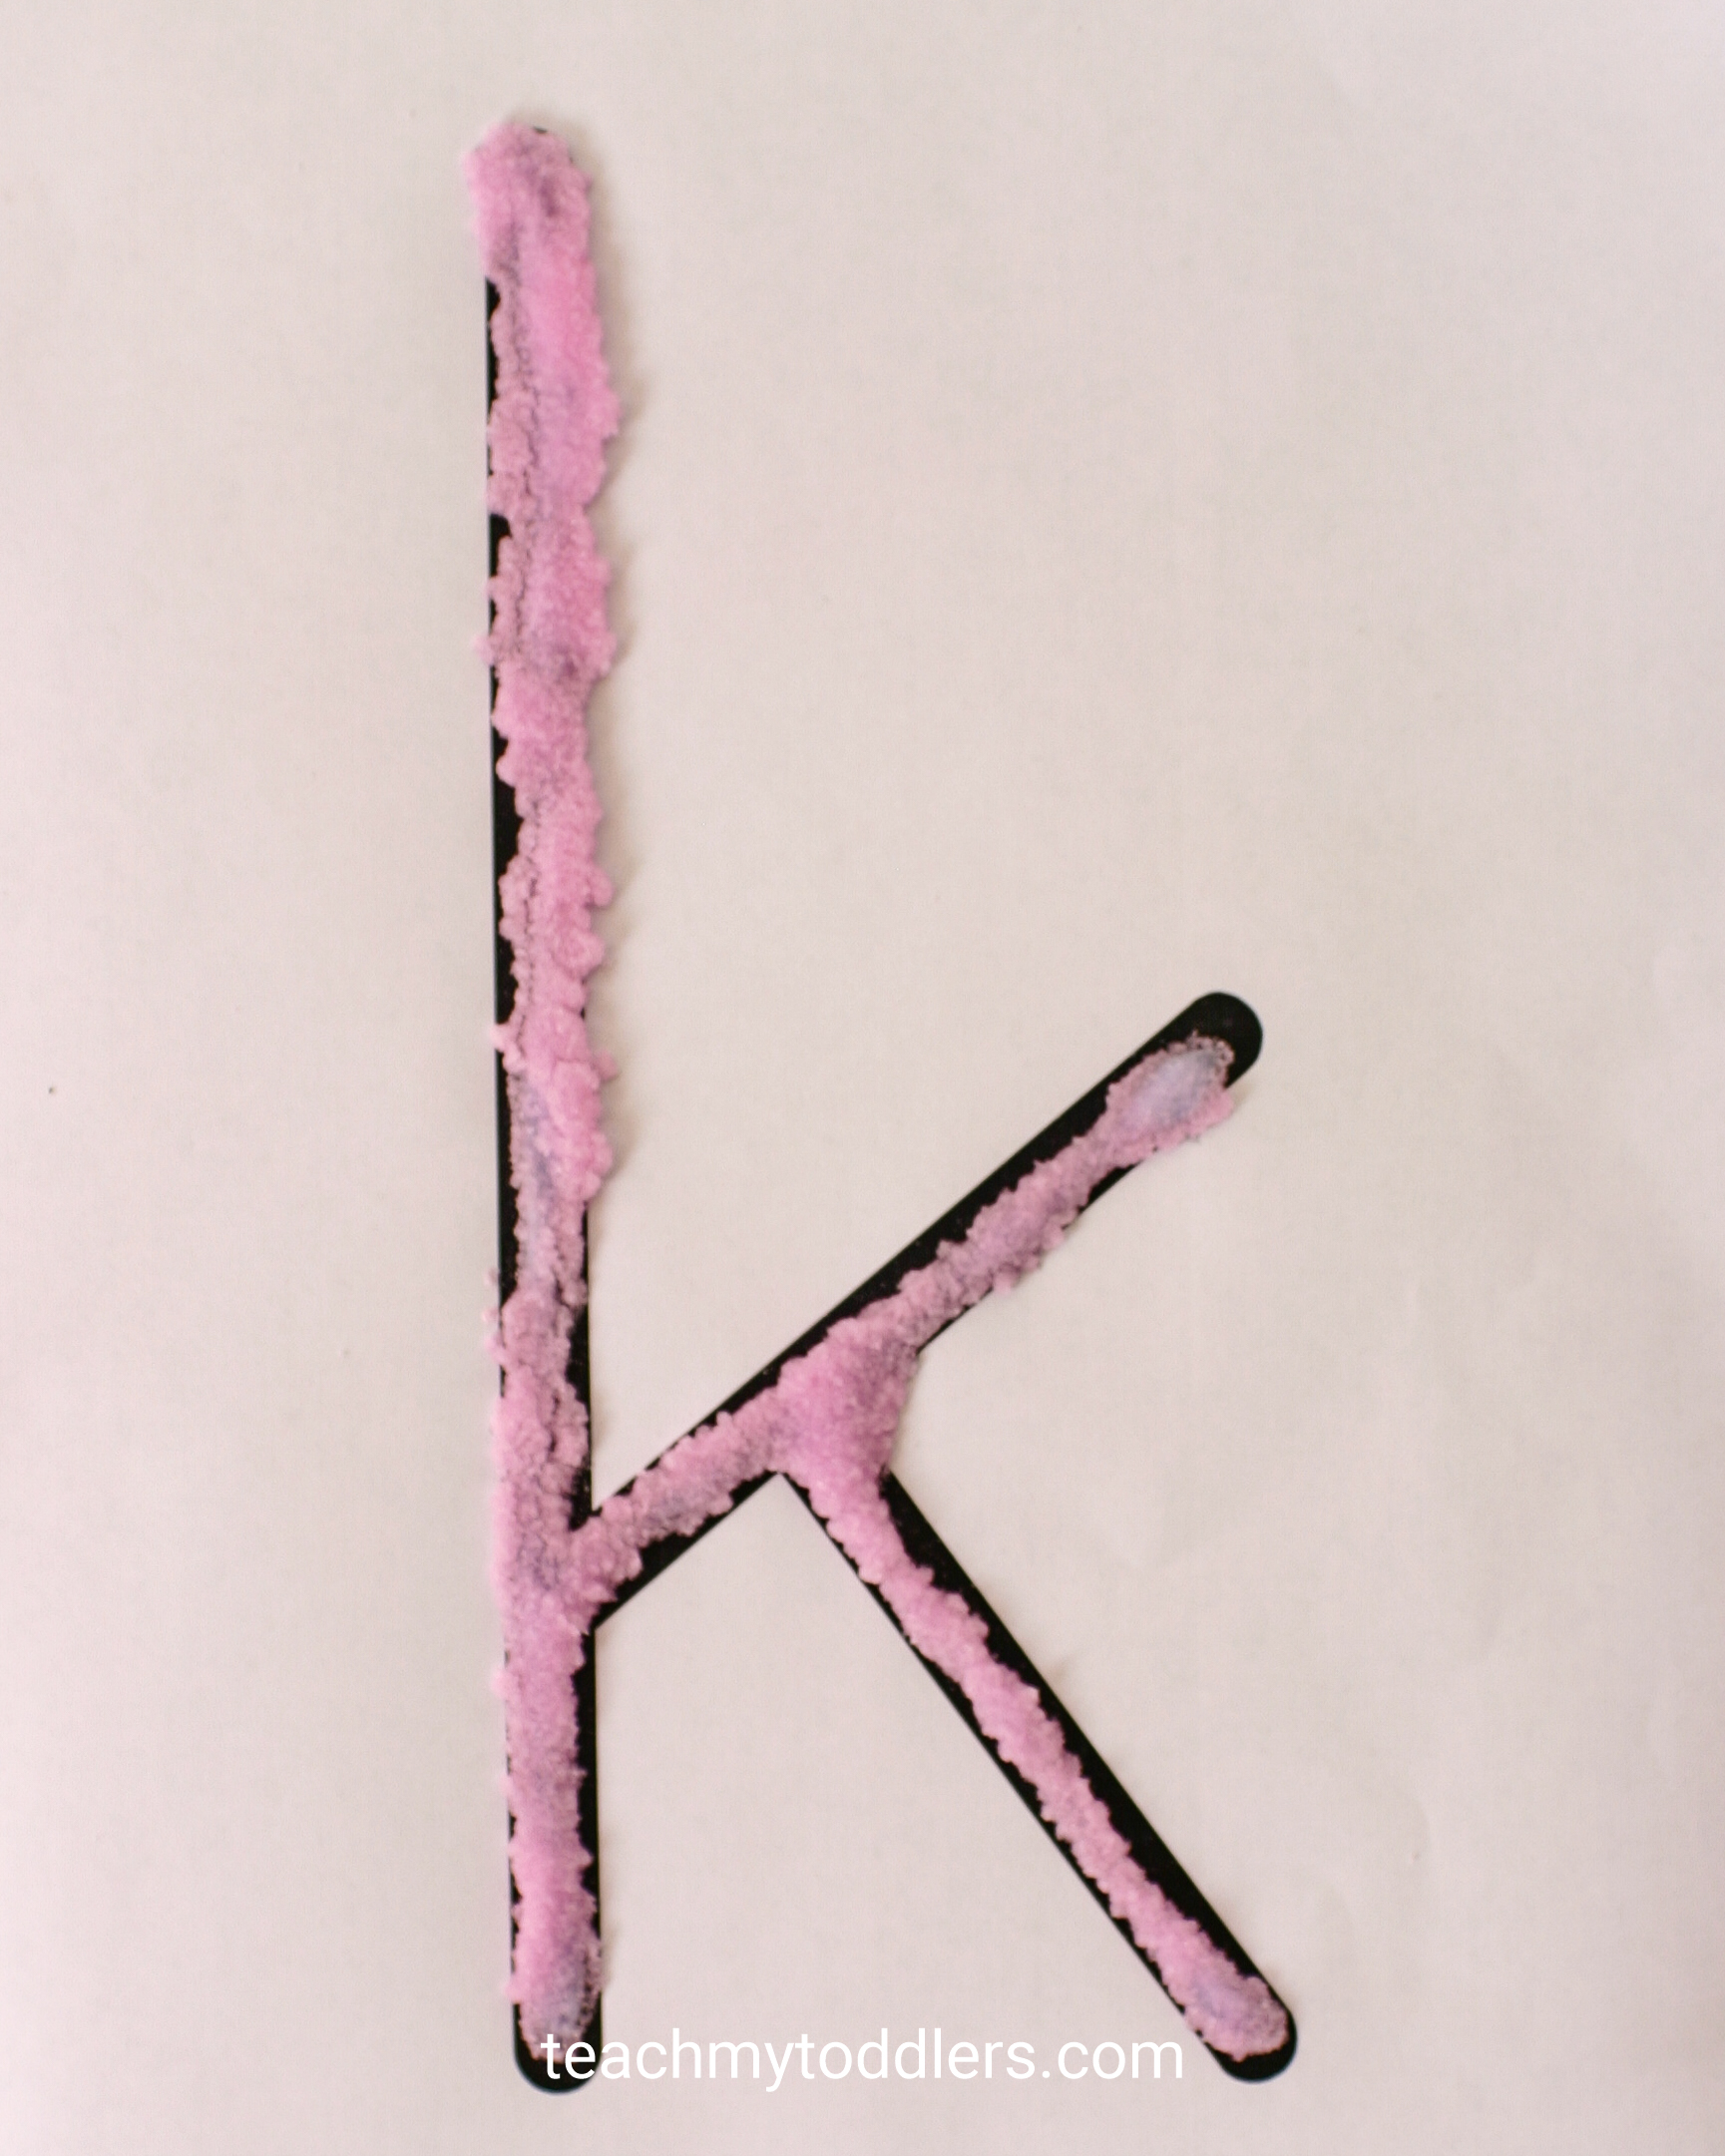
Okay, I guess sprinkles isn’t the best description, but use the salt for decorating my thin letters (or other creations). Cover the letter with some glue, then sprinkle with salt. The finished product is sparkly and in my opinion, much cooler than sprinkles and a little easier to clean than glitter.
Sensory Bin
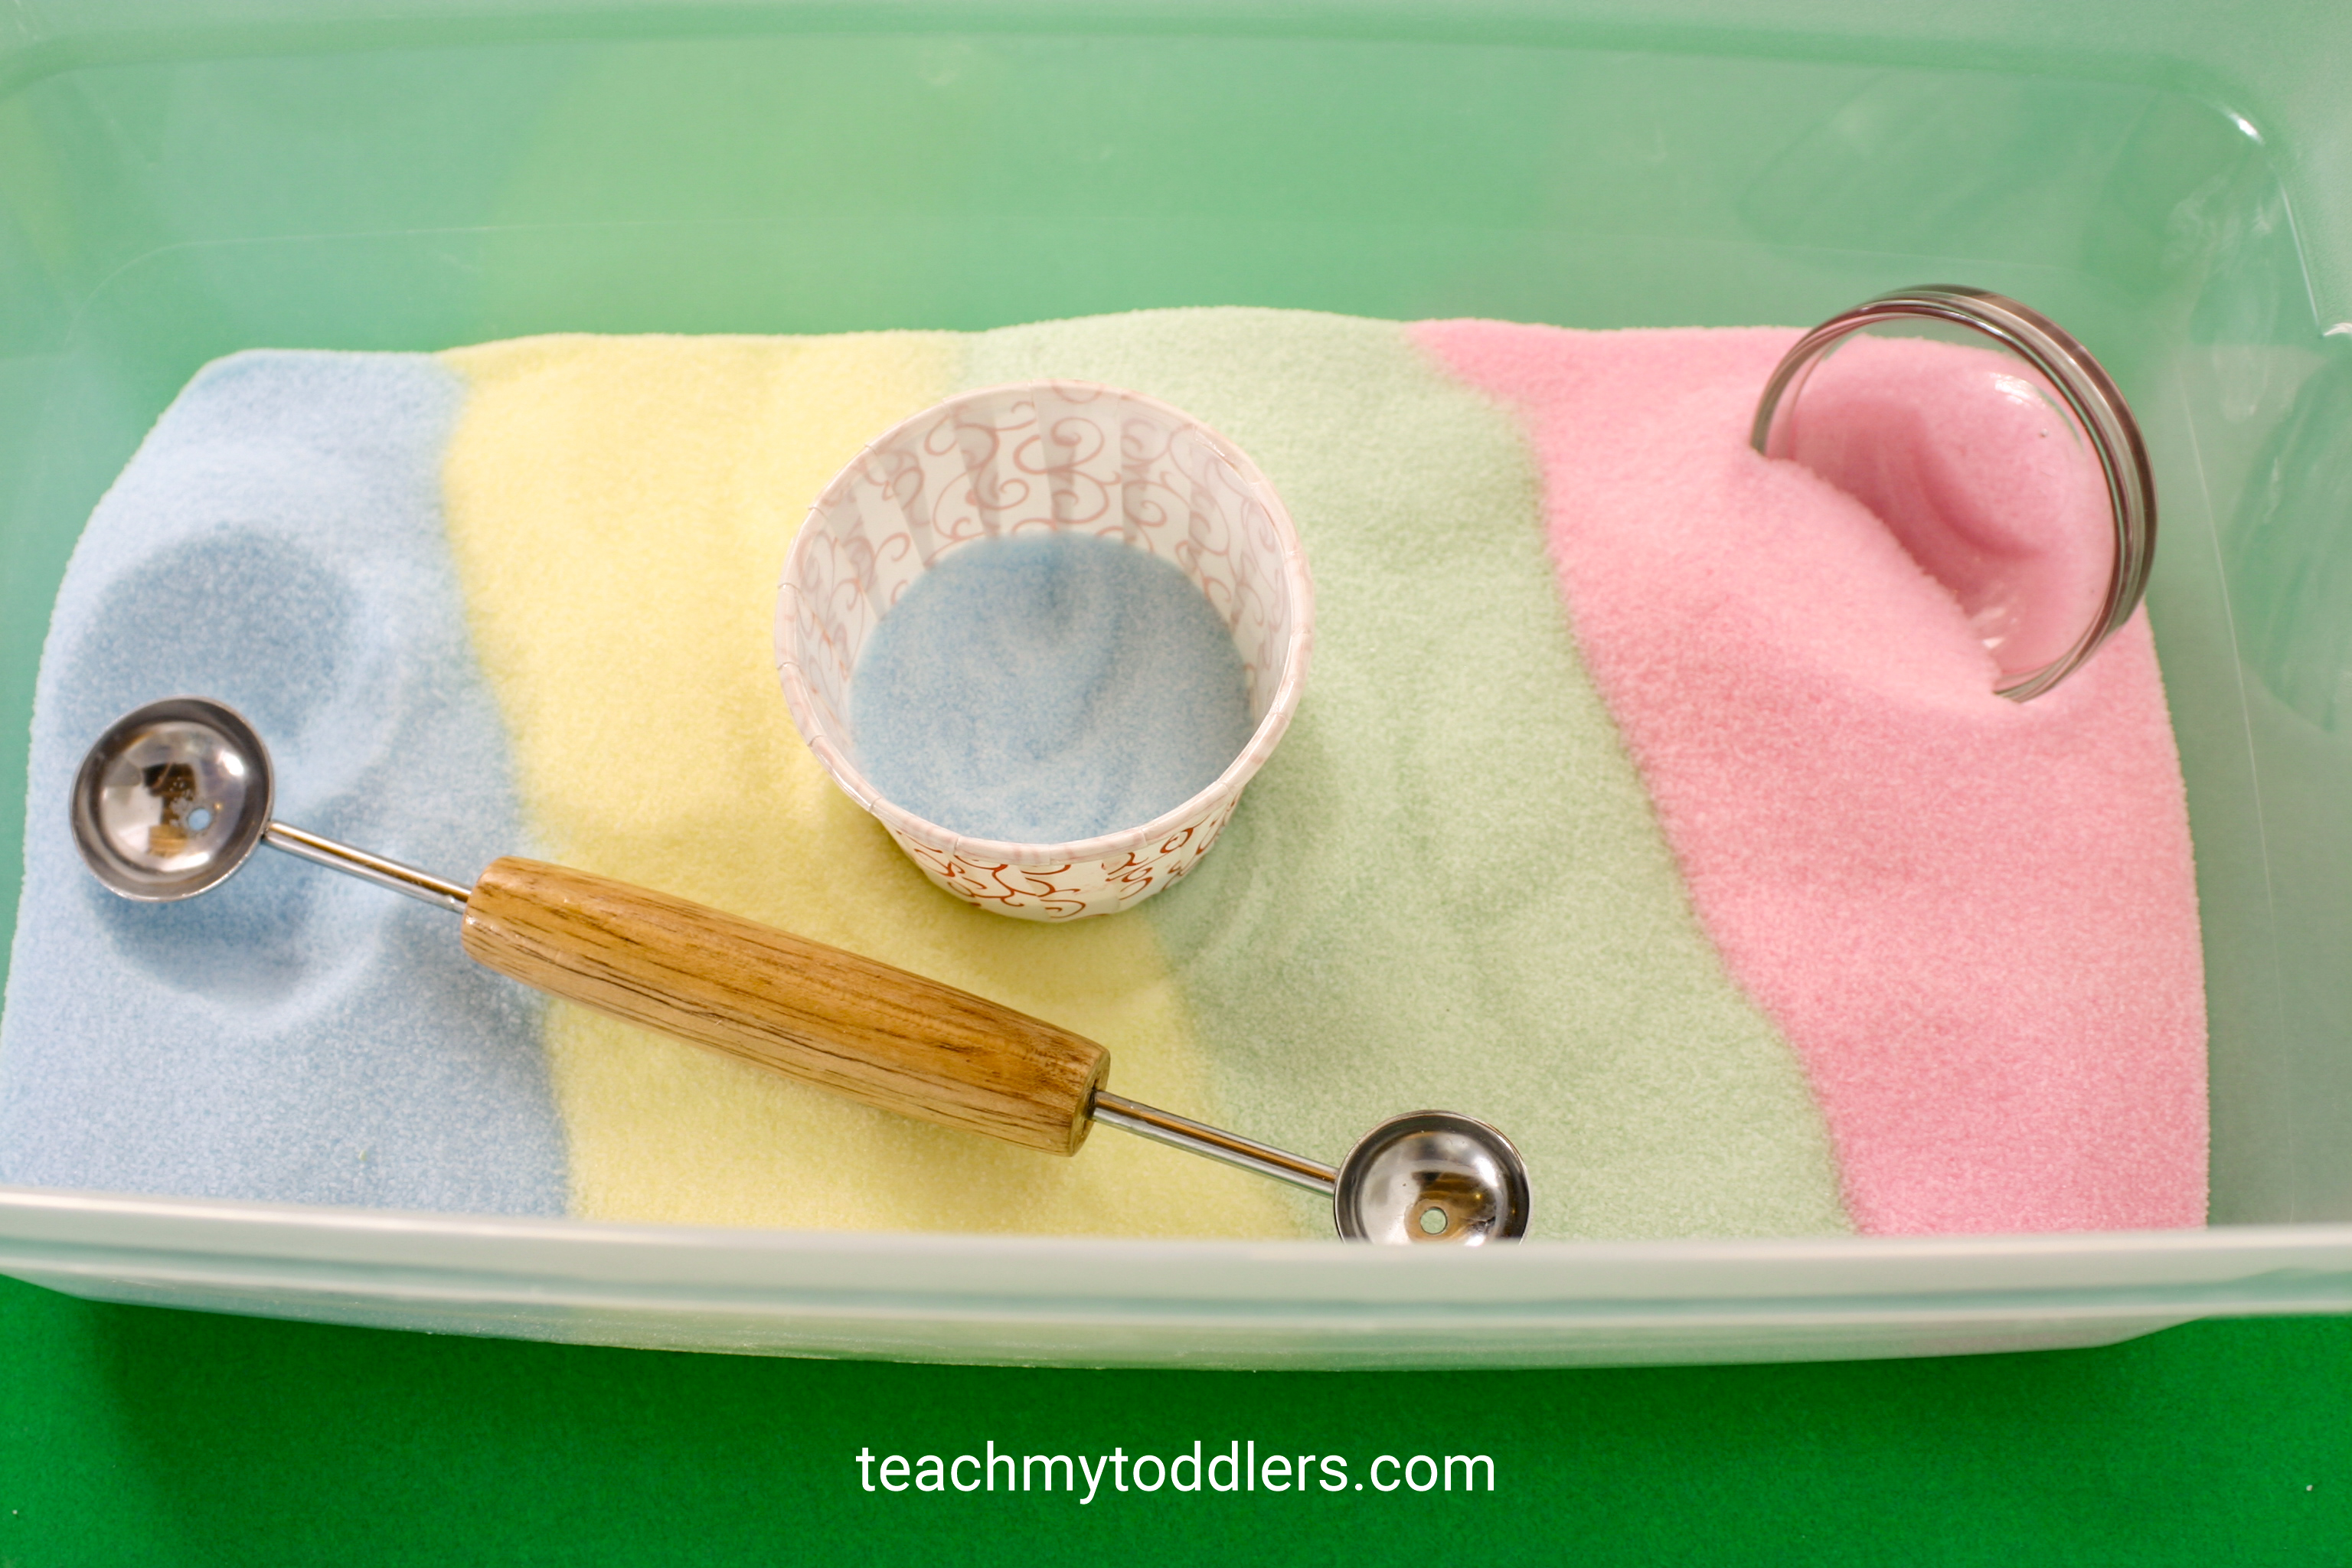
You could use colored salt as the base of a sensory bin (like I did in this post), or you could create a sensory bin with just colored salt and a few tools. It’s sure to be a hit with the kiddies either way.
Other Posts you Might Like
Check out my YouTube video that goes with this post. Subscribe to the Moms Have Questions Too YouTube channel for more preschool videos.
